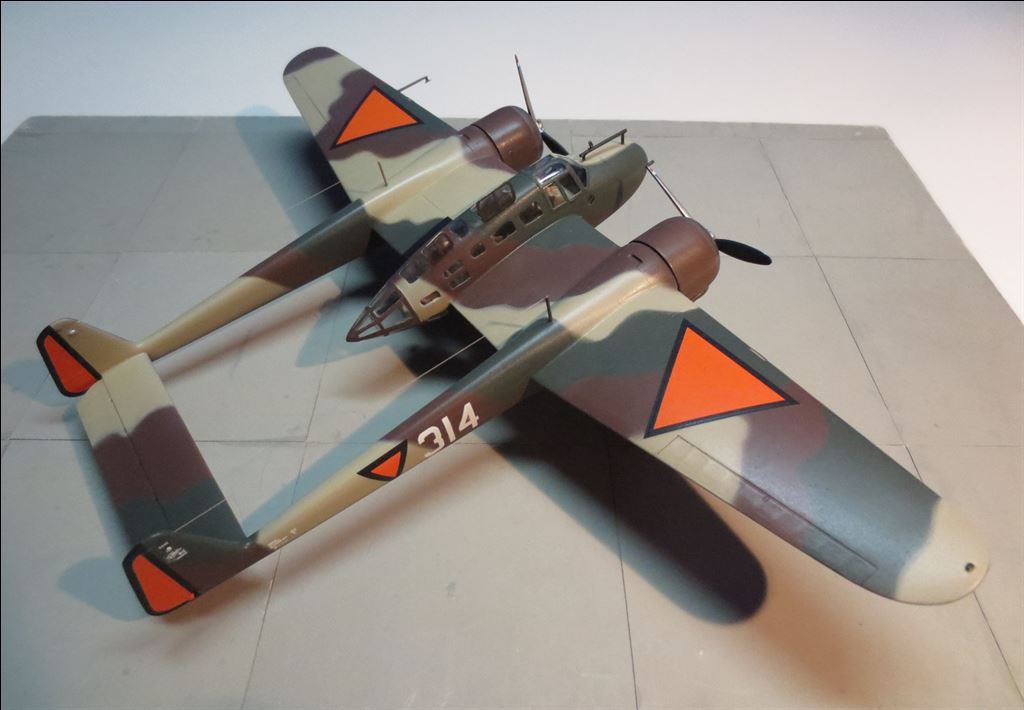
Building the MPM Fokker G.I by Peter Booij
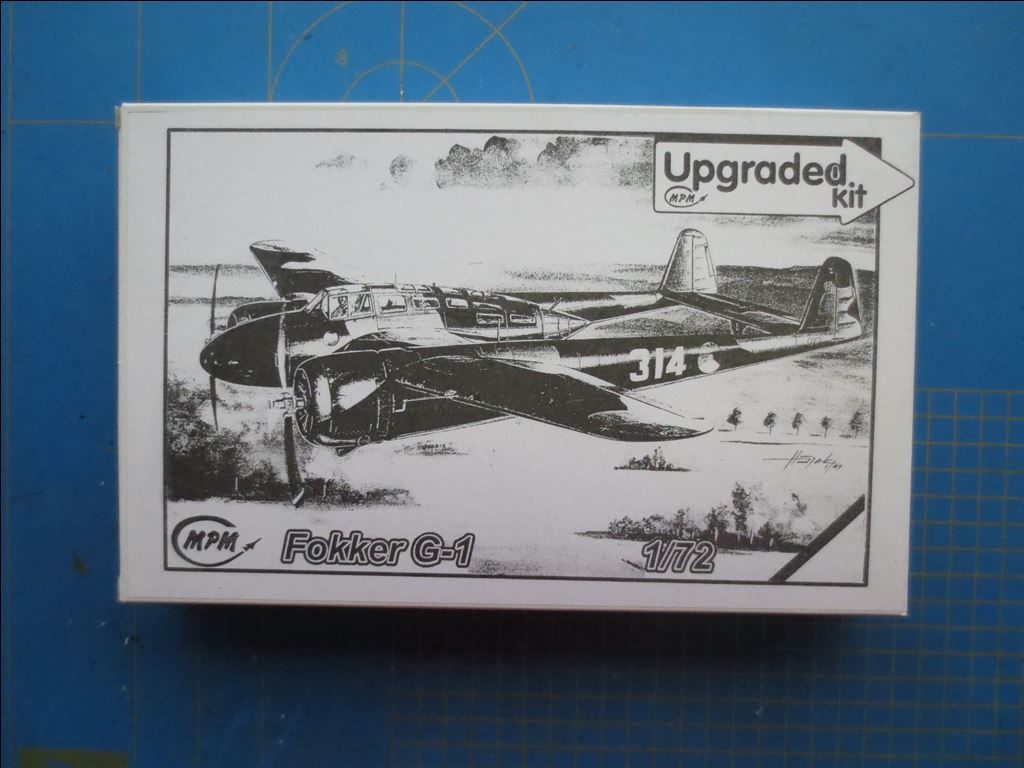
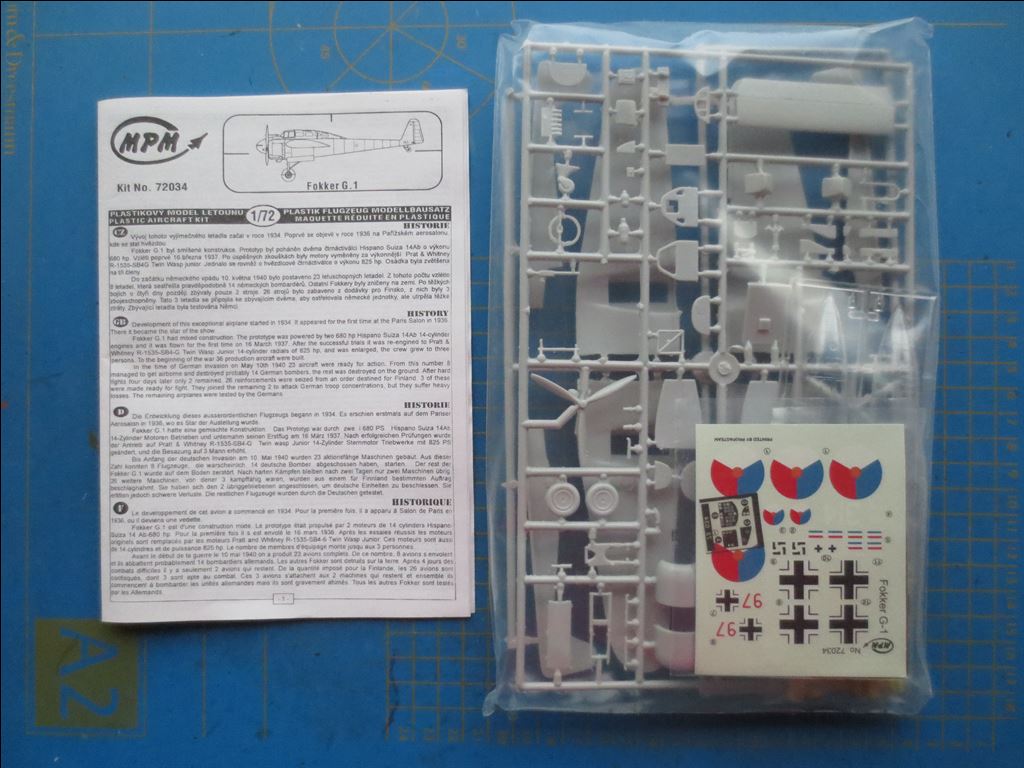
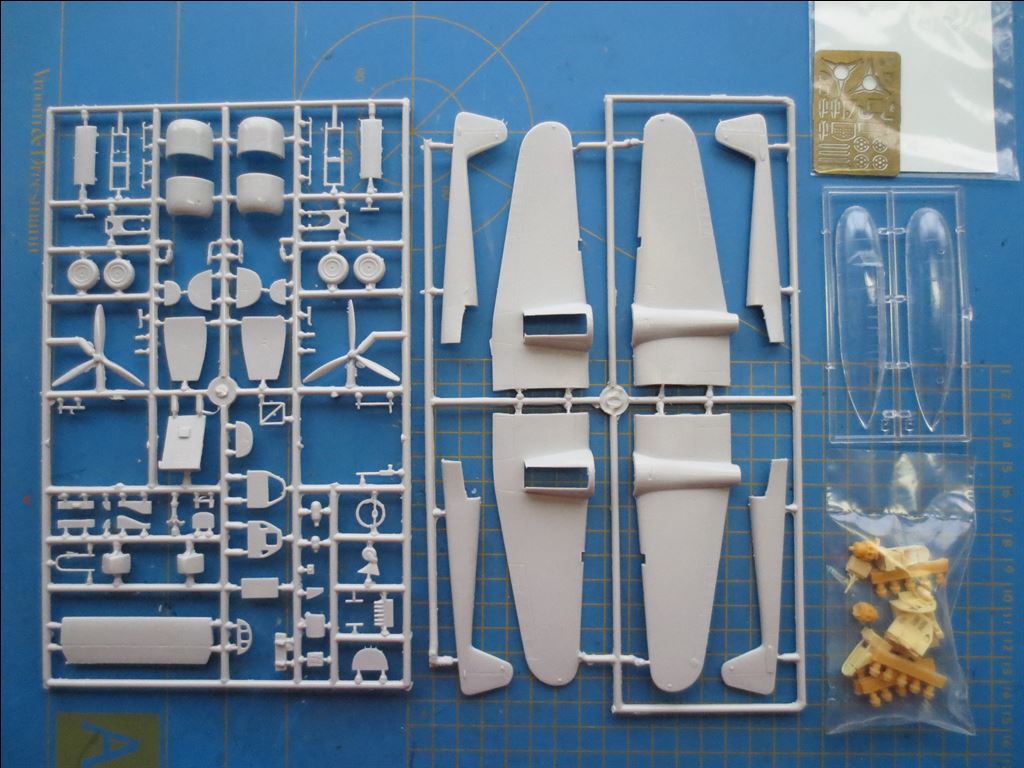
Below a building report of this second edition of the Fokker G.I from MPM: the so-called 'Upgraded kit'
De Bouw: Deel 1
Hieronder de start van de bouw.
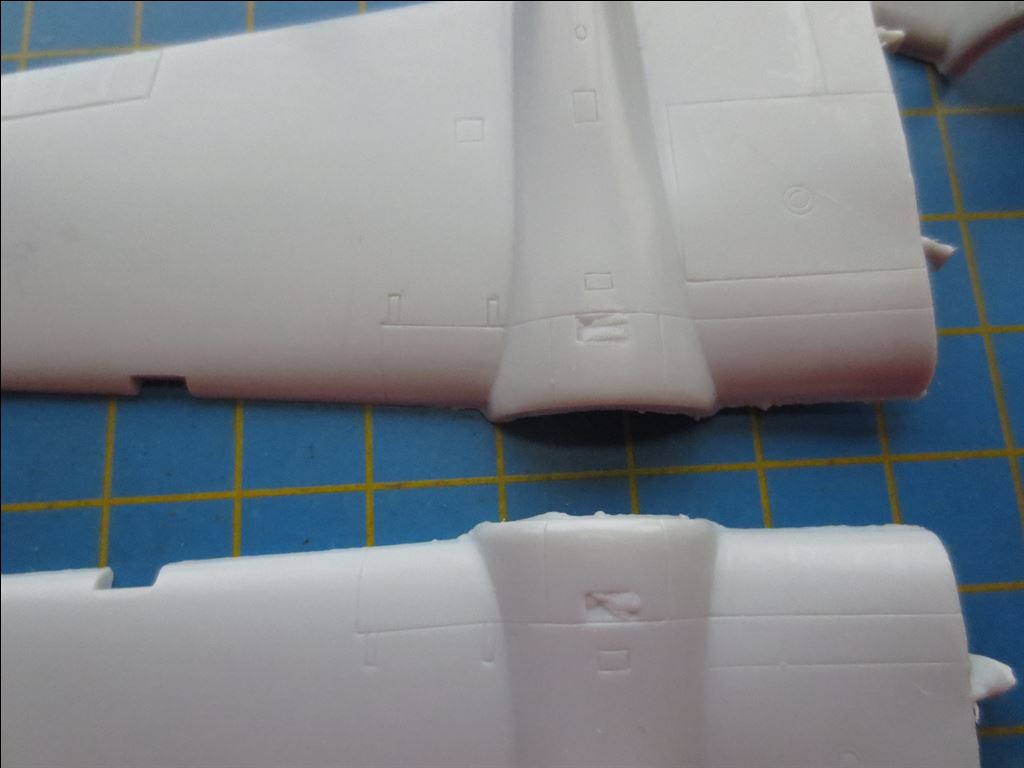
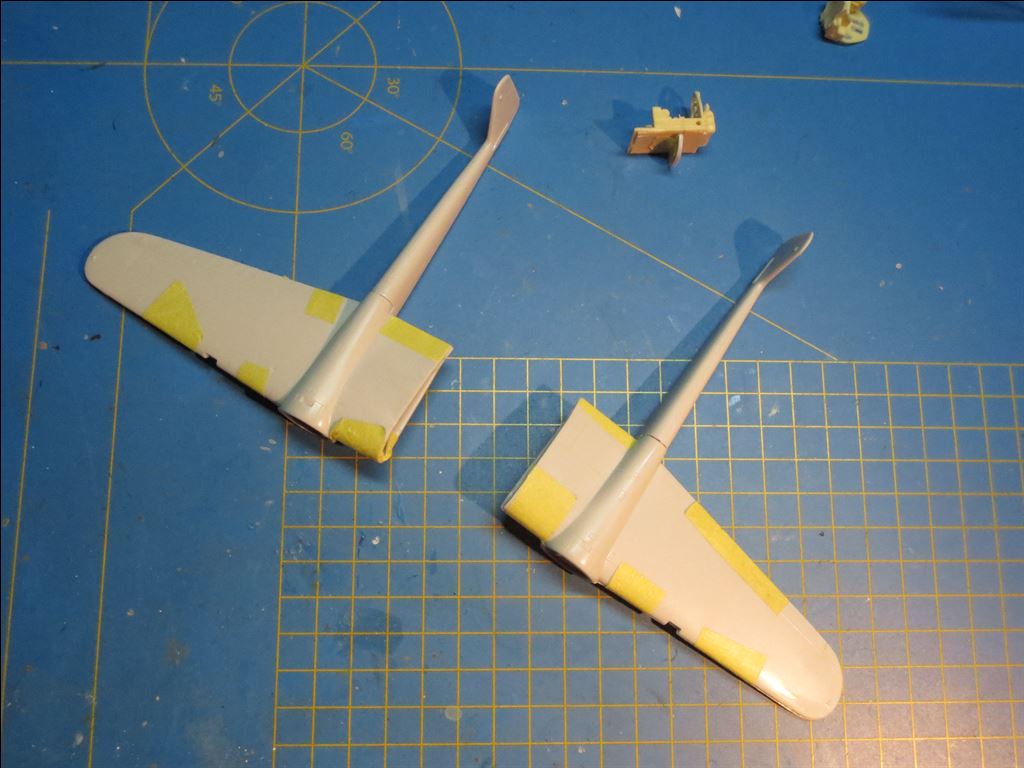
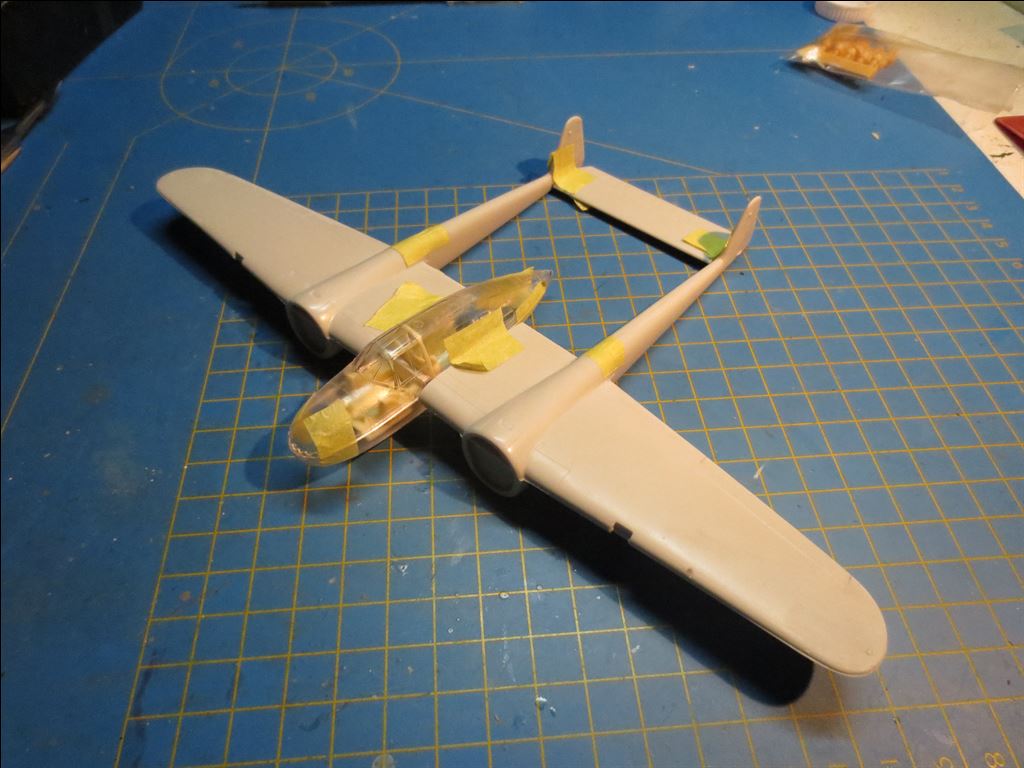
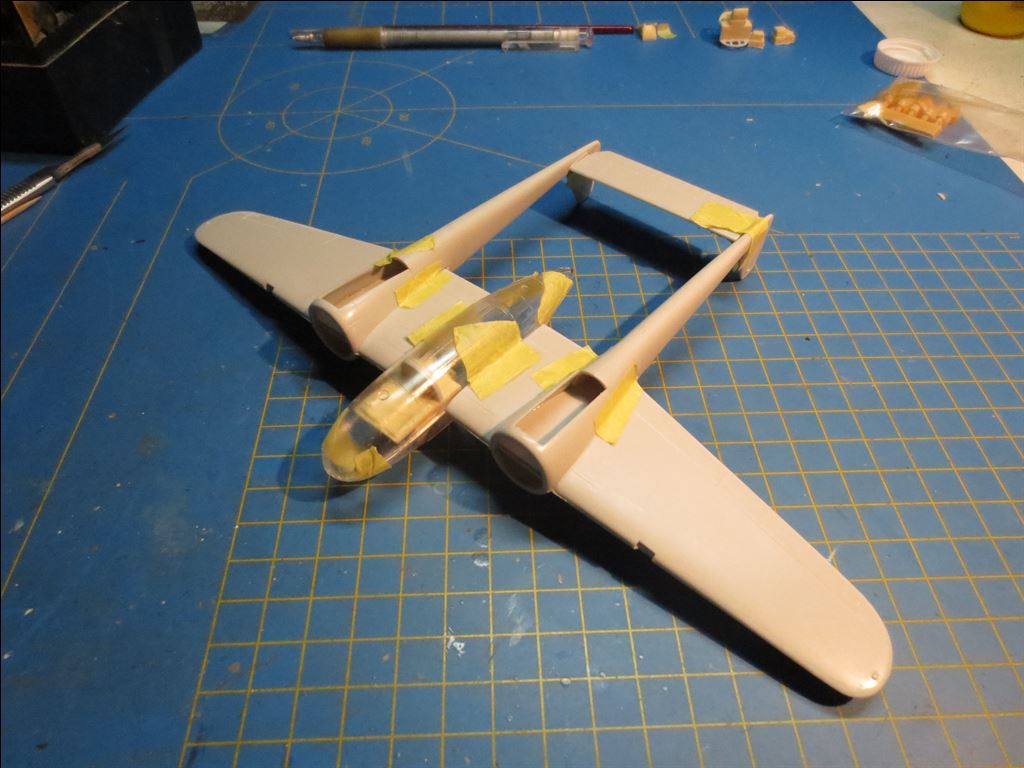
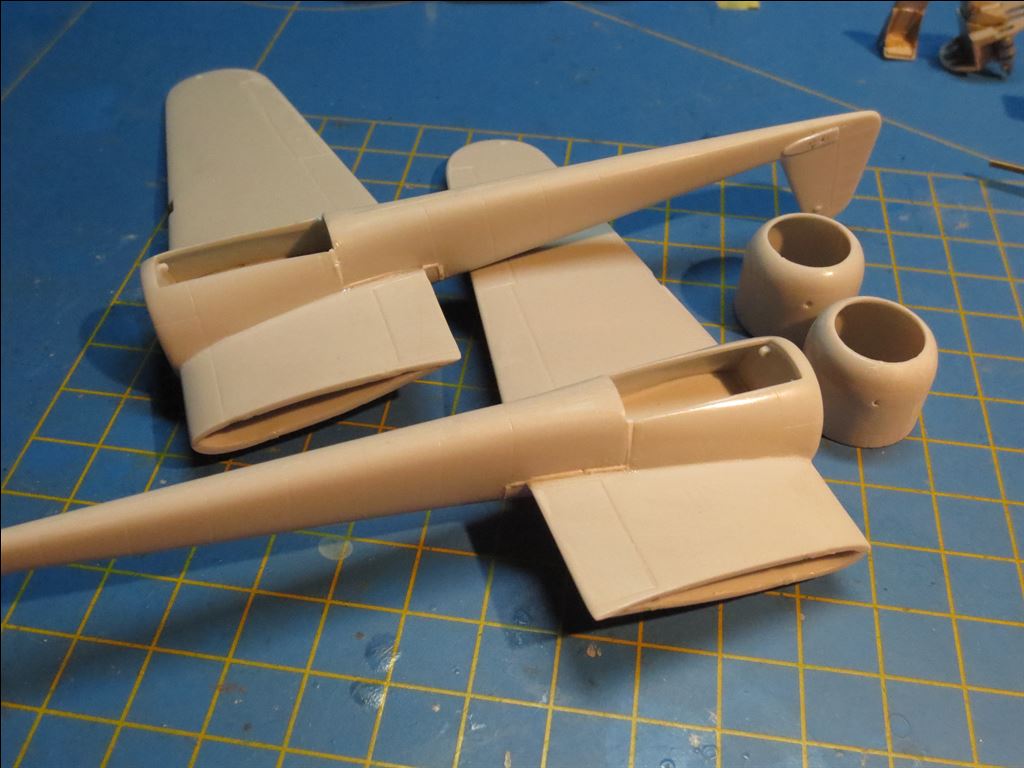
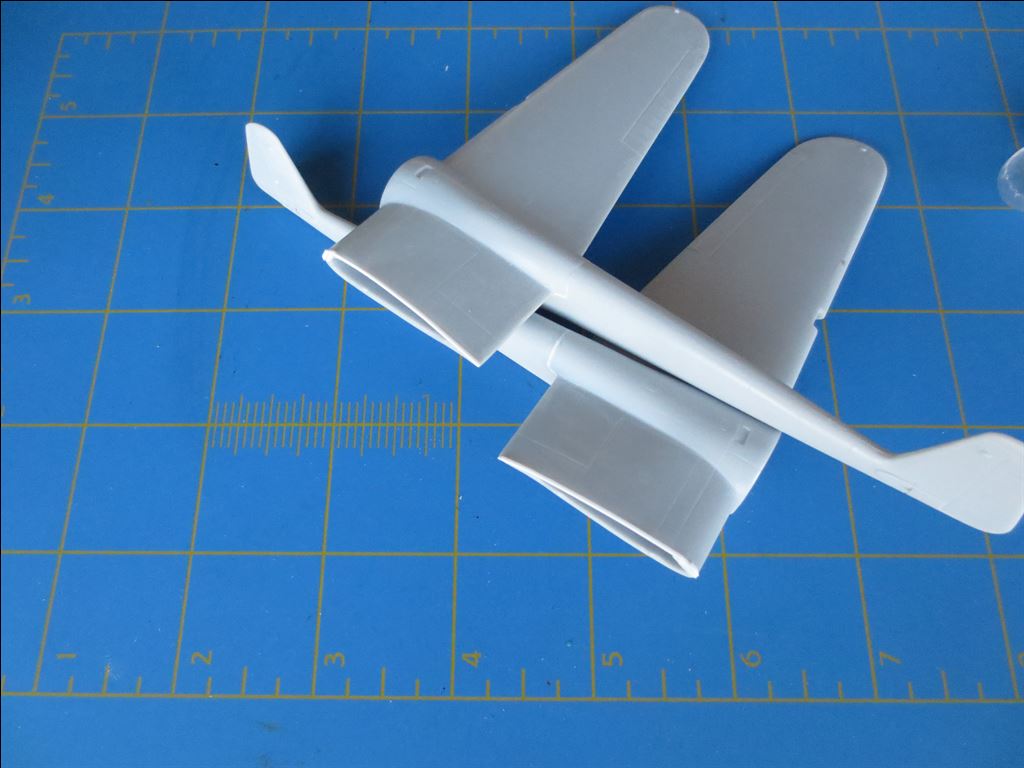
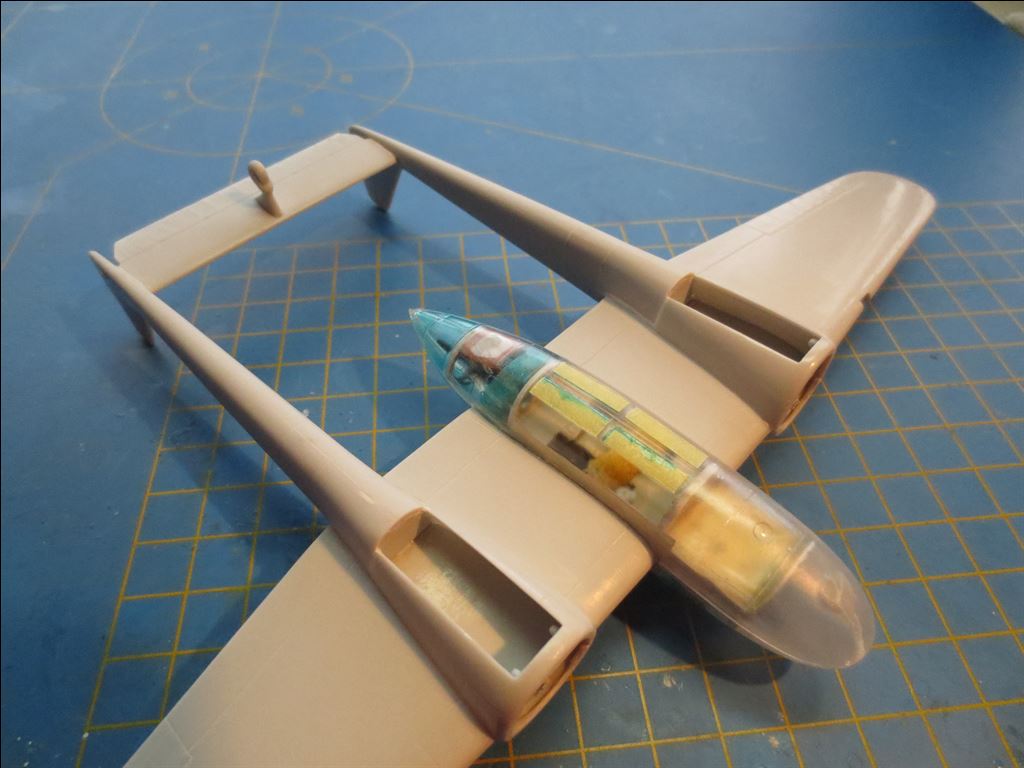
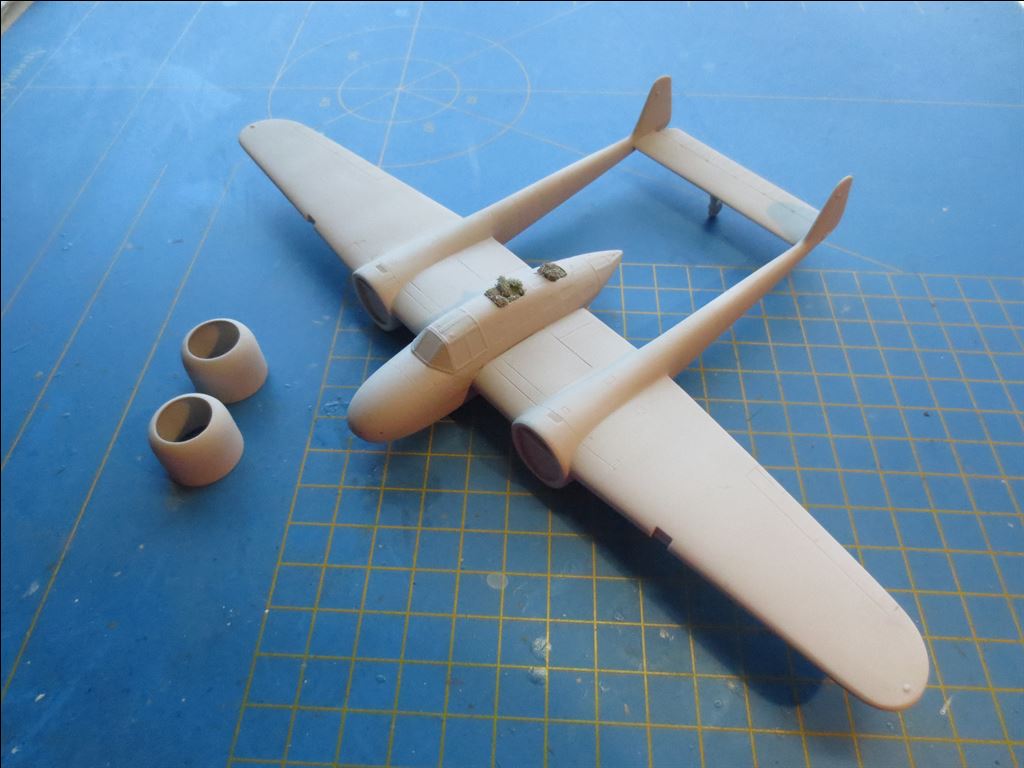
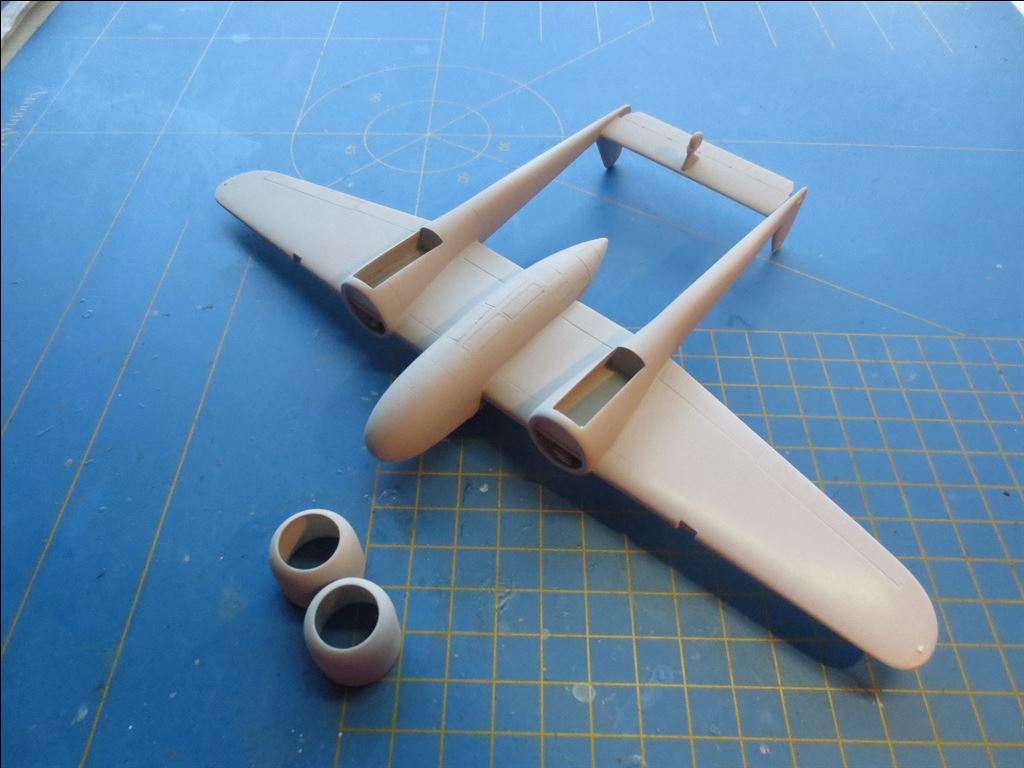
De eerste stap was het lijmen van de vleugels. Dit ging in fasen.
Eerst werd het wielbakje erin gemonteerd, vervolgens de achterlijst tussen de motor en de romp en daarna de voorlijst tussen de motor en de romp.
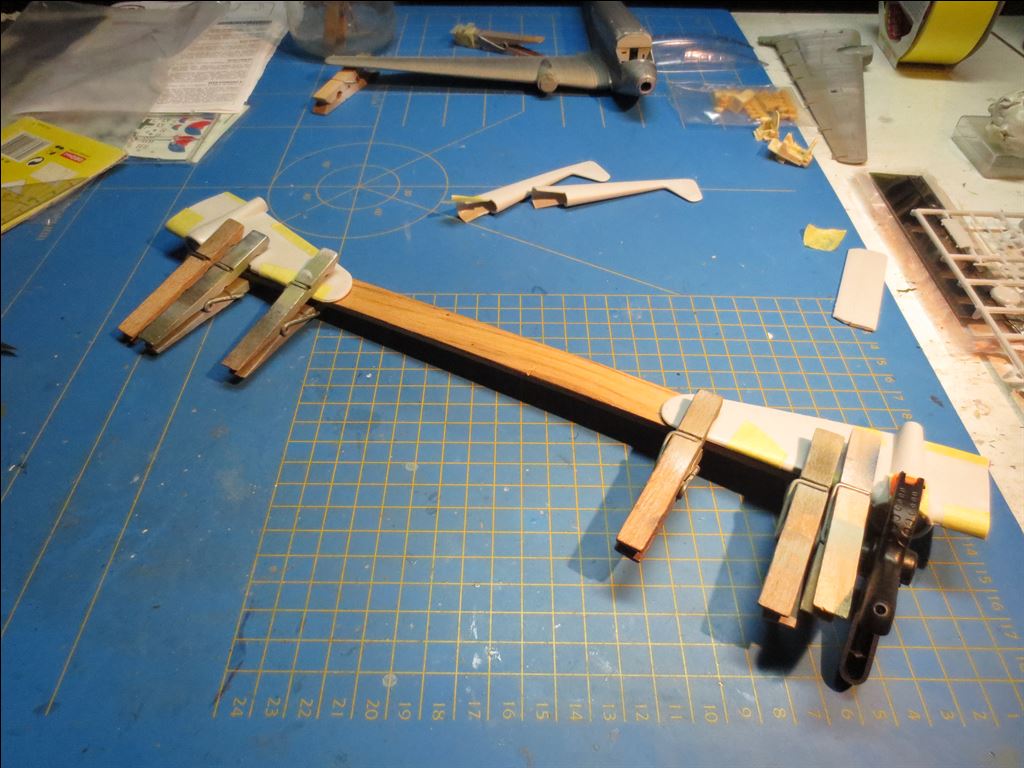
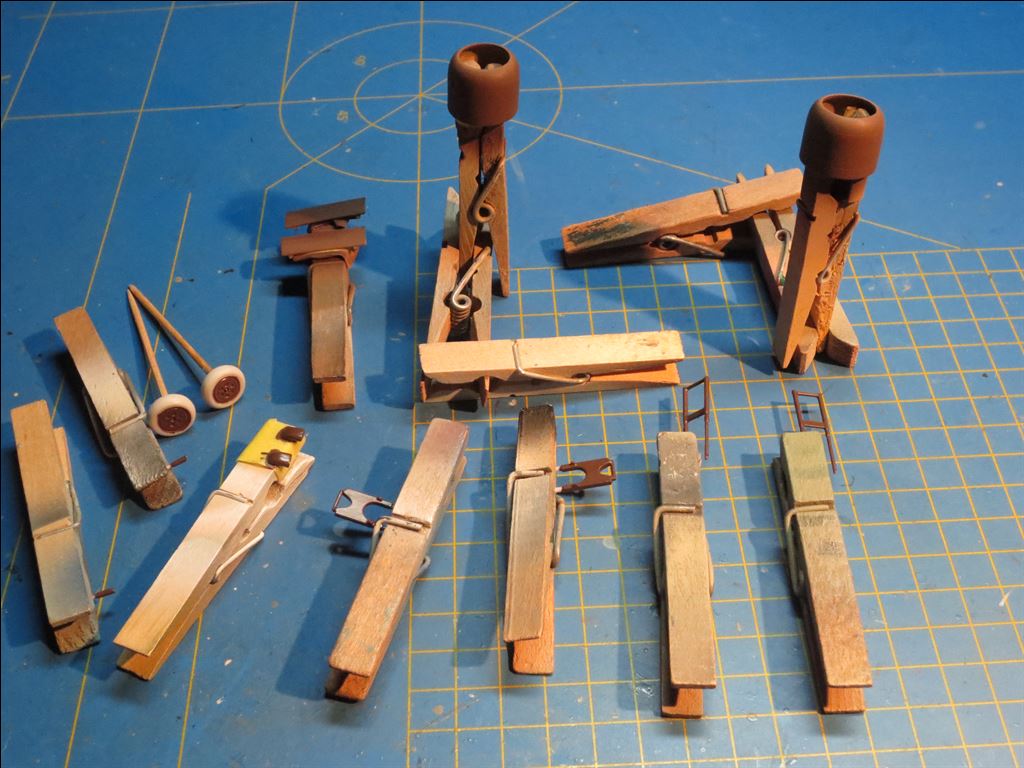
Vervolgens de buitenste voorlijst en tenslotte de buitenste achterlijsten, die met klemmen op een plankje laten drogen, zodat de boel recht bleef.
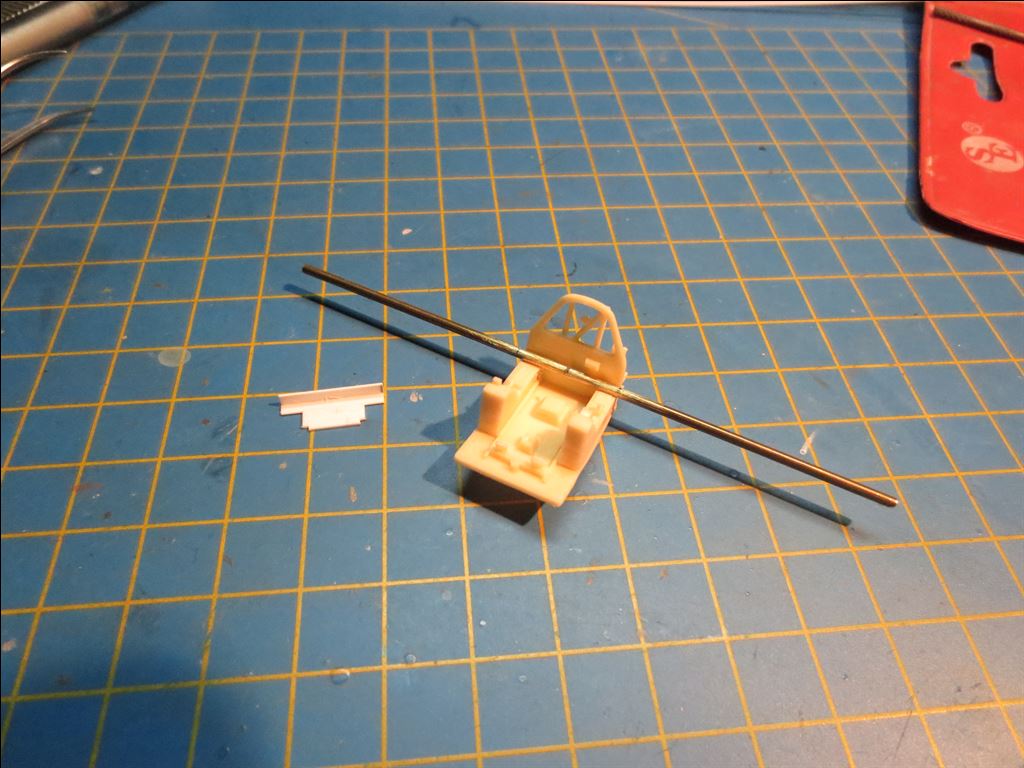
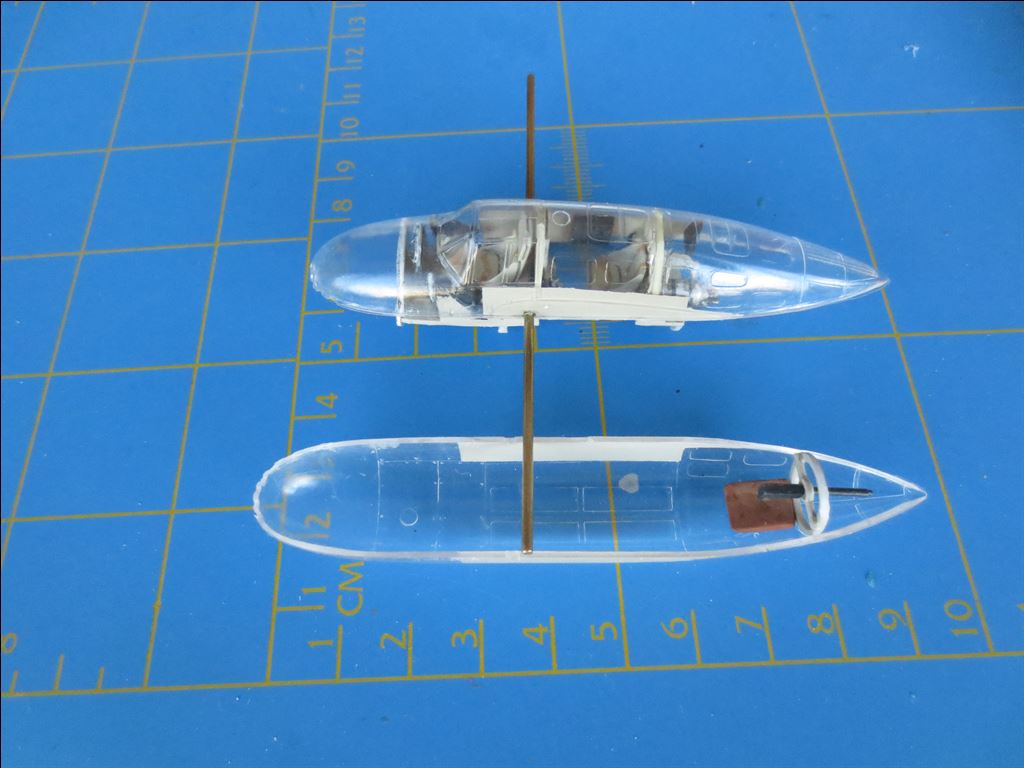
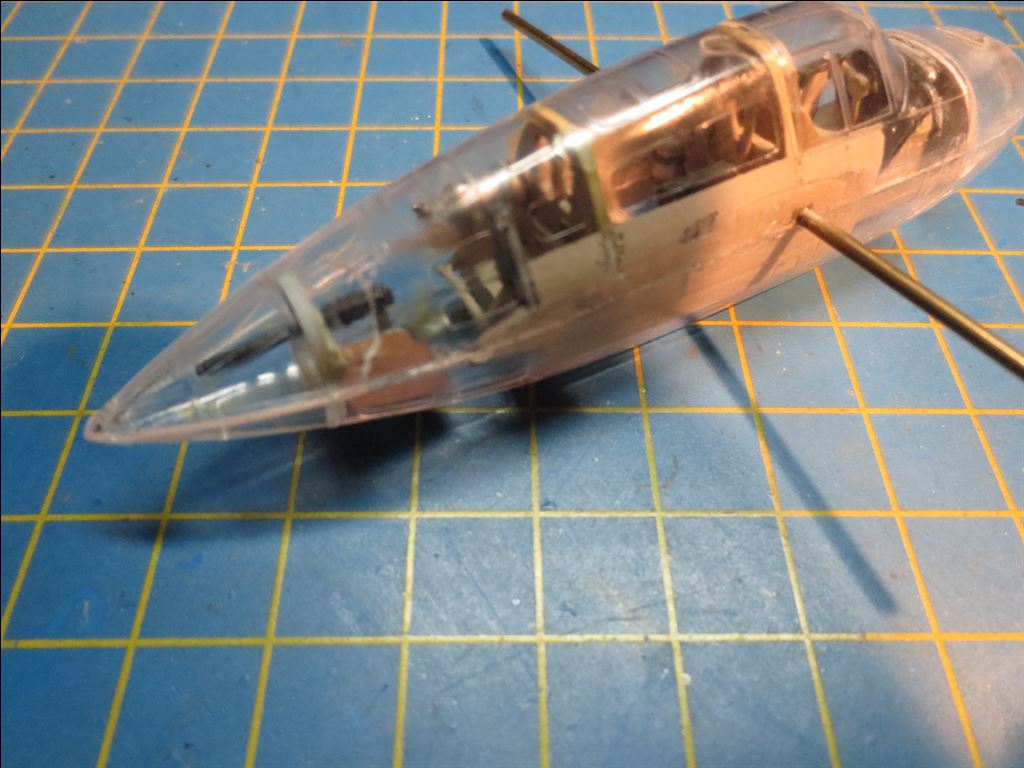
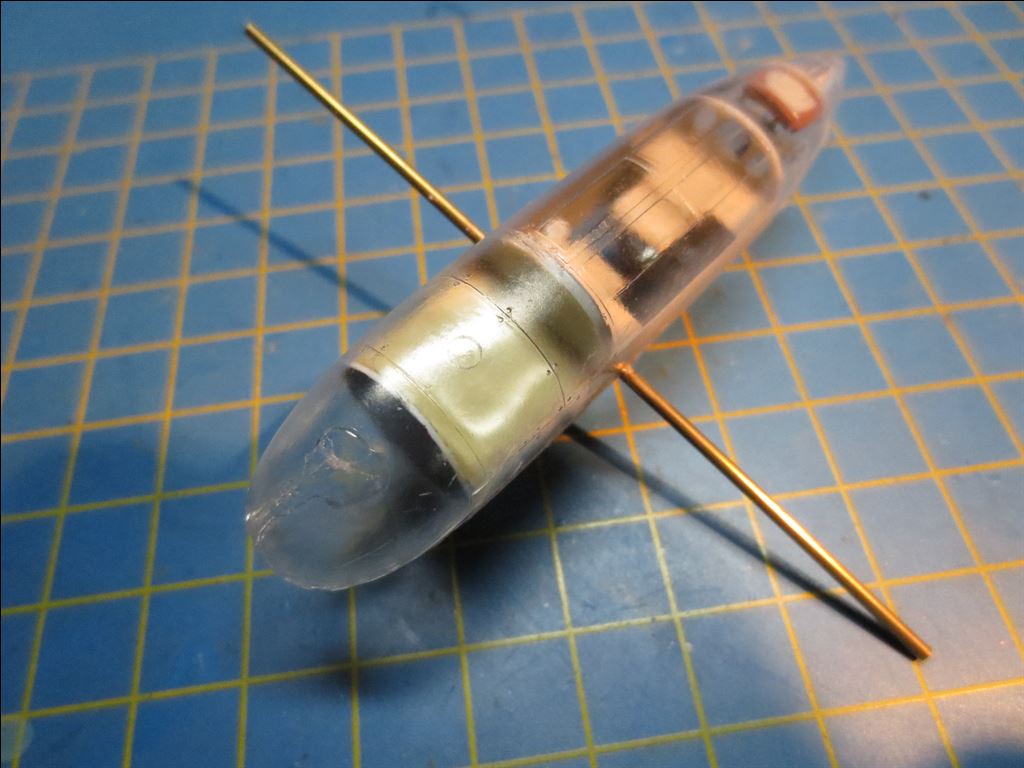
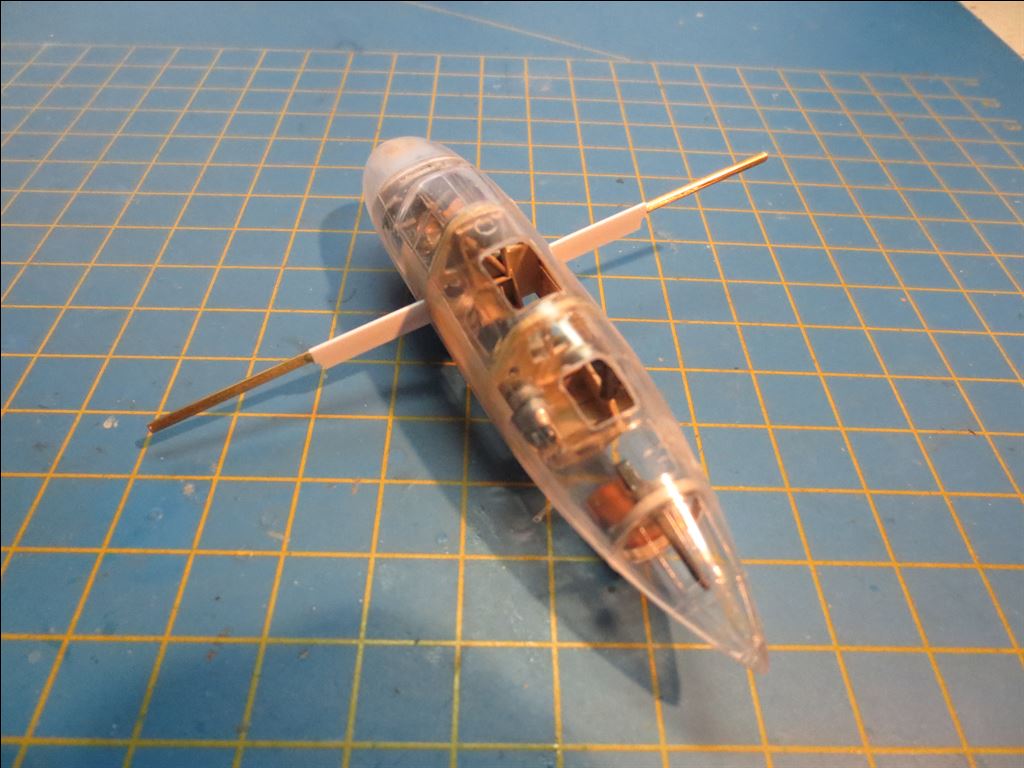
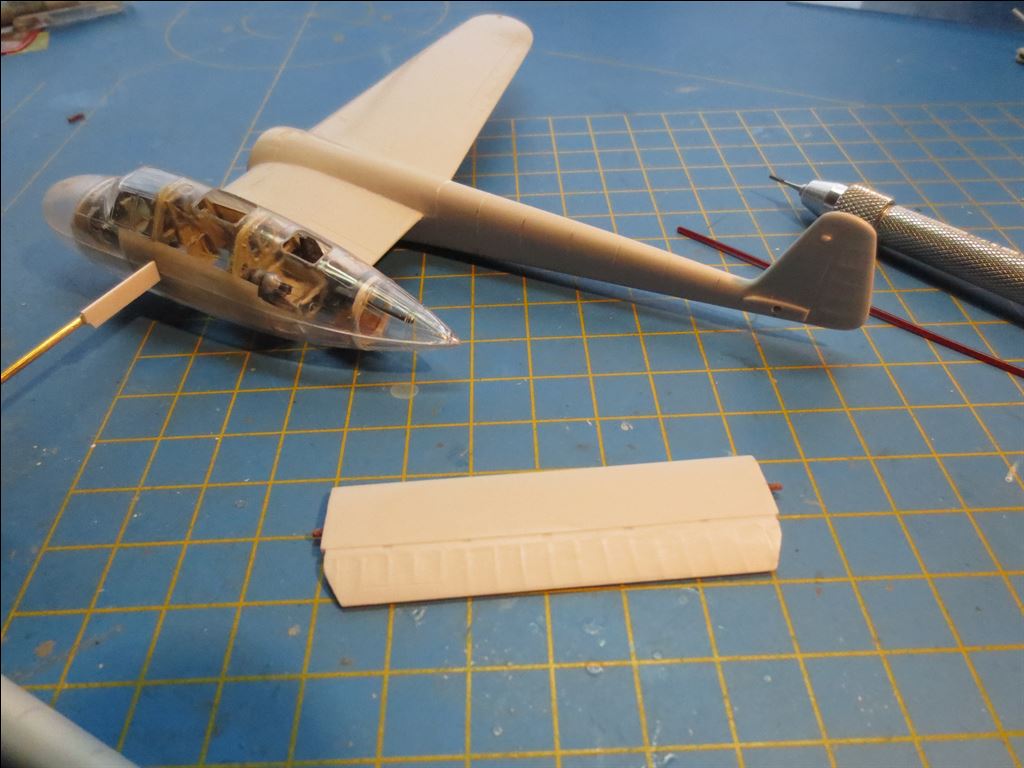
2. De romp is voorzien van een ligger in de vorm van een messing staafje.
De plek hiervoor is achter de vliegerstoel, waar bij de echte G-1 de voorligger van de vleugel zat. Deze werd superlijm vastgezet en van plastic card een dummy-ligger gemaakt, die er mooi overheen valt.
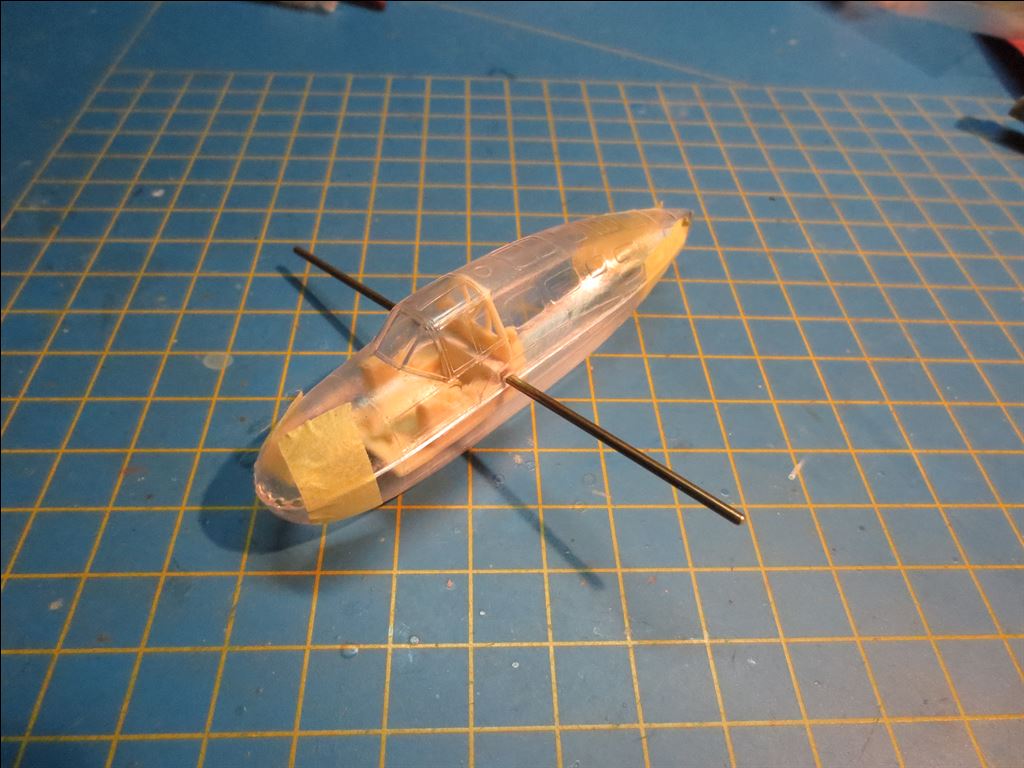
Het resultaat werd vervolgens droog gepast in de romp, en daarna werden de grote delen in elkaar gepast.
Daarna volgde toch nog wat vijl- en schuurwerk om alles goed passend te krijgen.
Building: Part 2
The fuselage
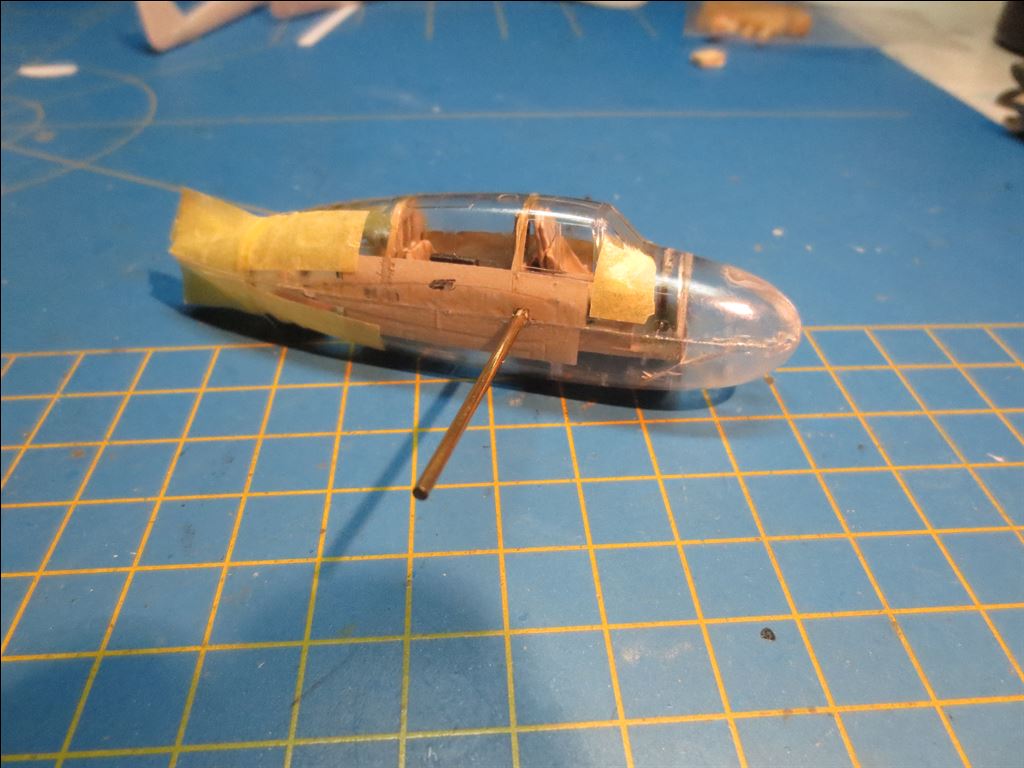
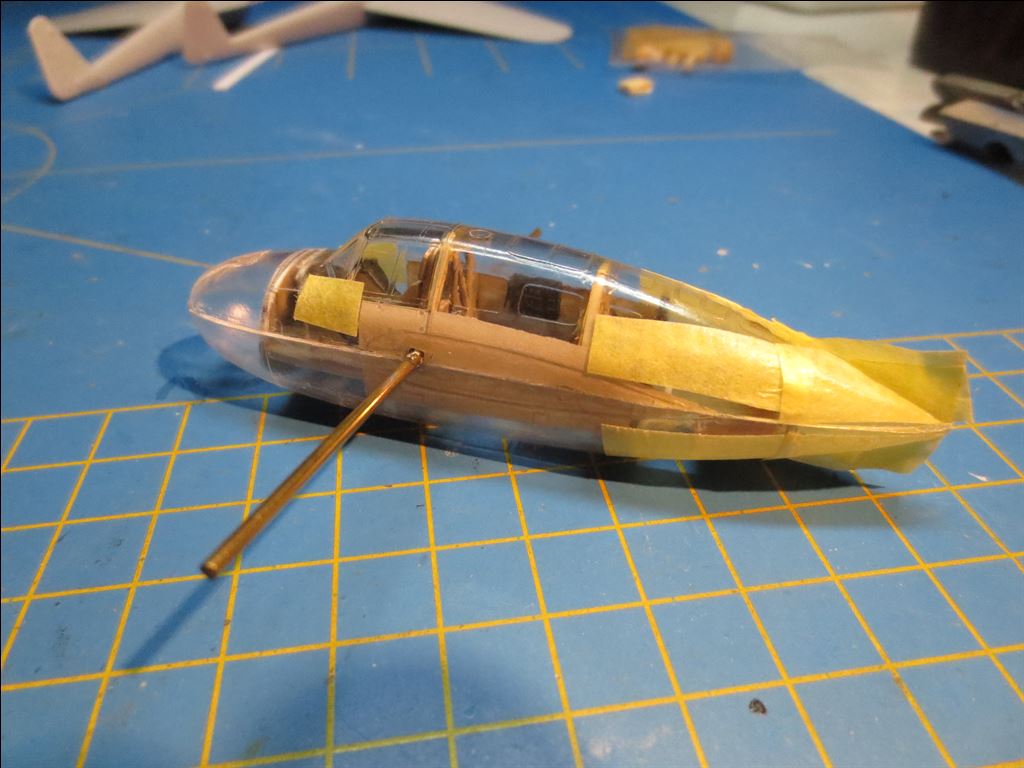
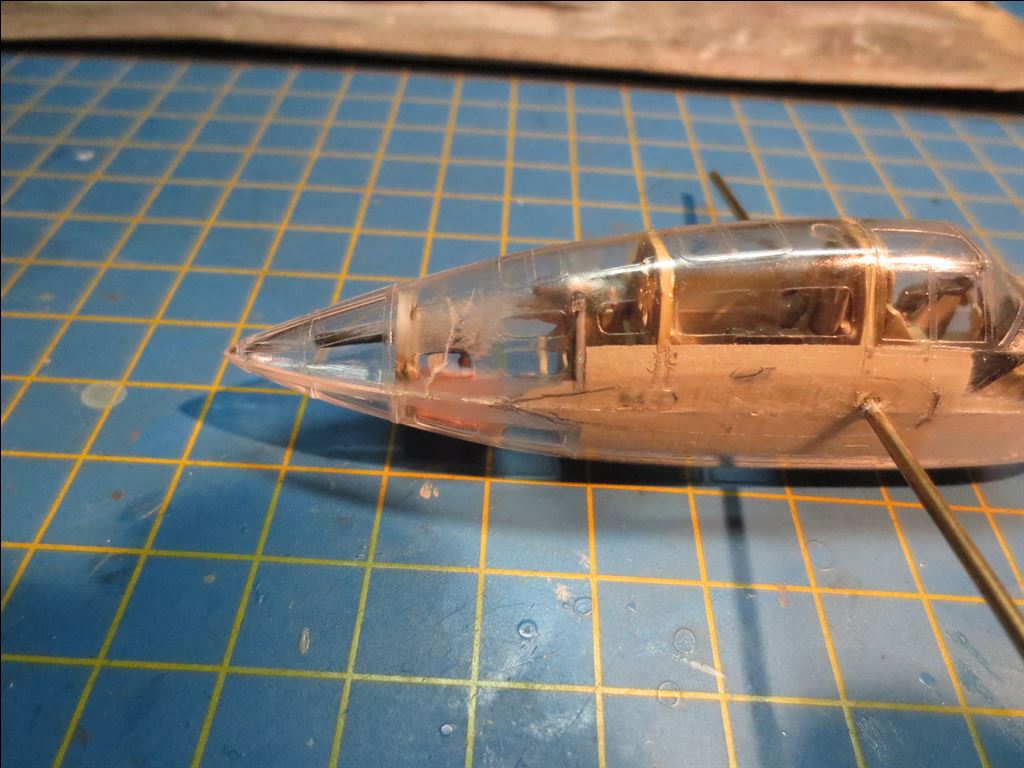
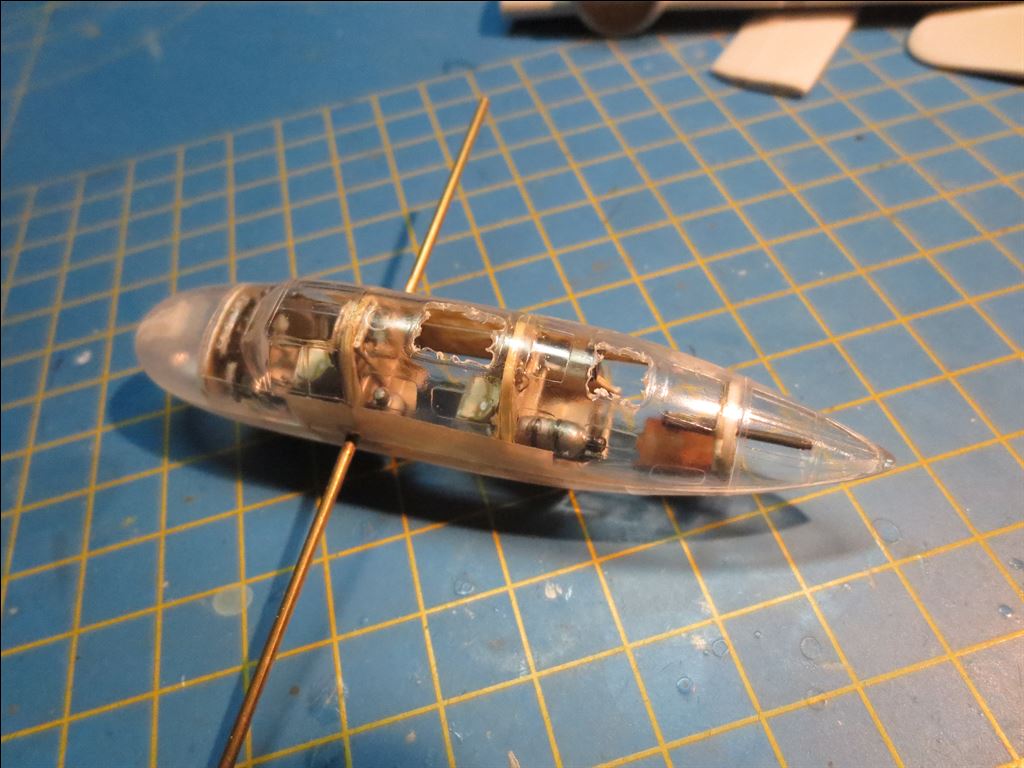
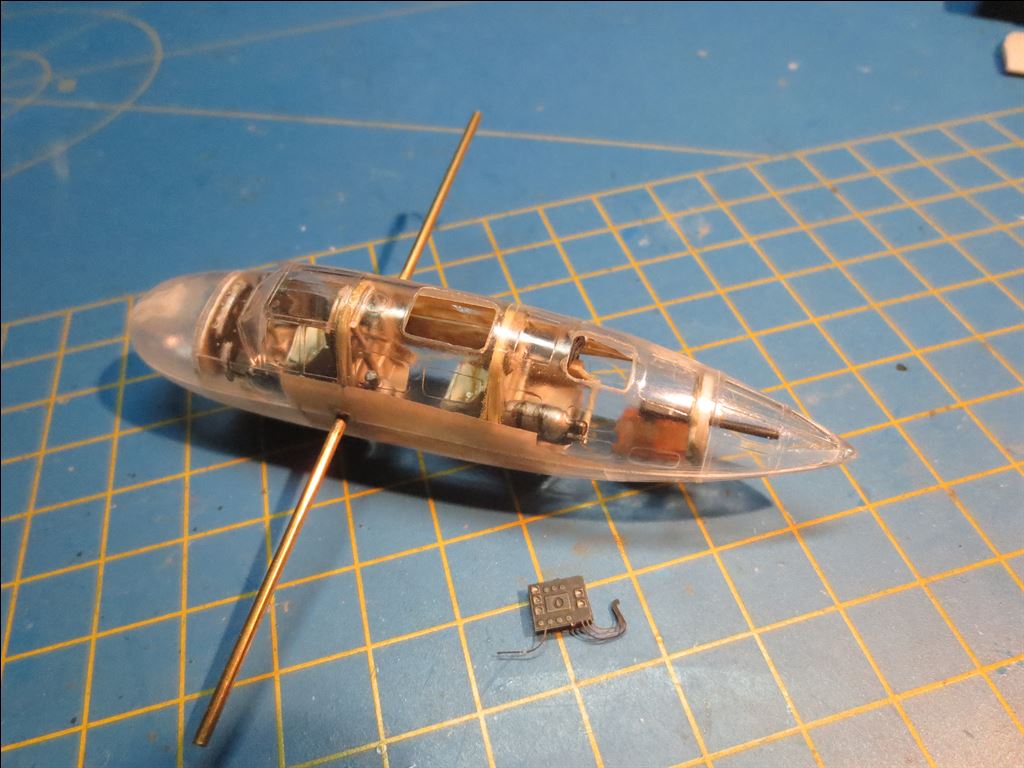
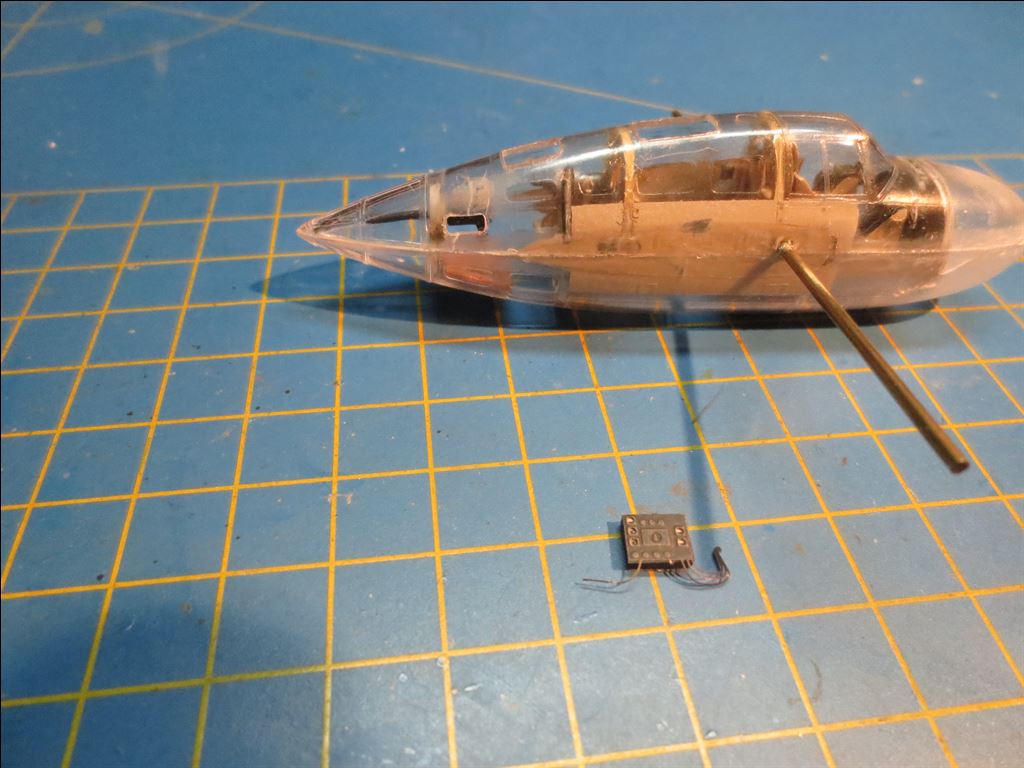
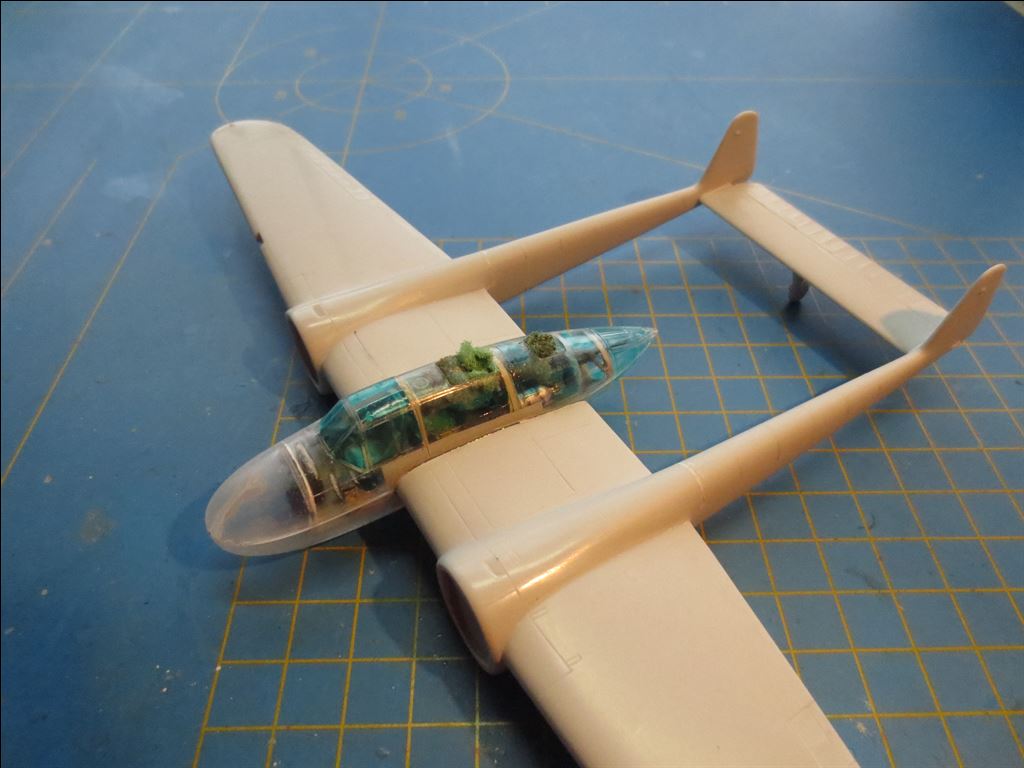
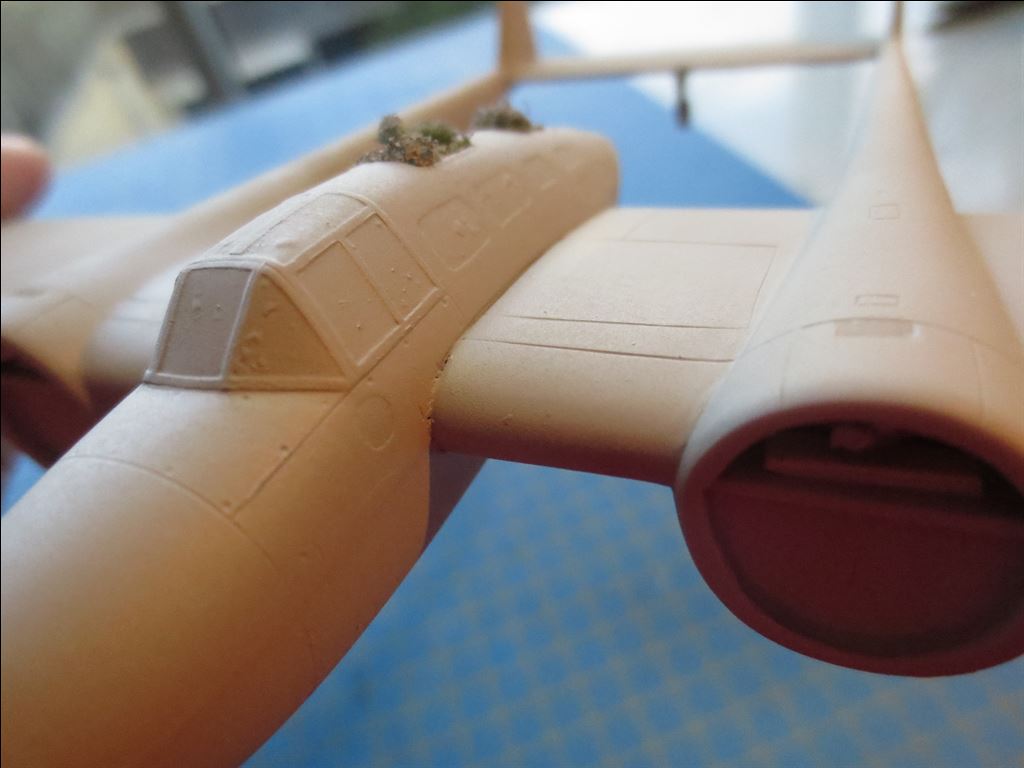
Door onvoorziene omstandigheden tijdens het samenbouwen kwam er een barst in één van de ruiten en kwam, ondanks afplakken toch schuurstof in de romp. Bovendien raakte de radio los.
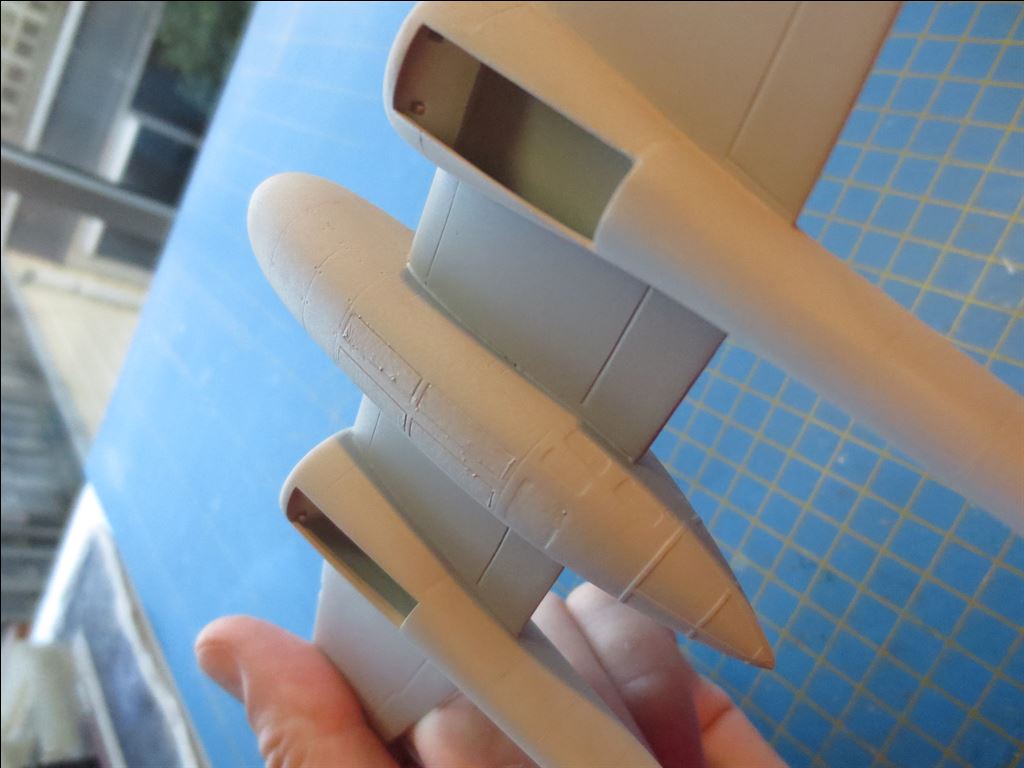
Het toestel wordt dus toch voorzien van een paar openstaande luiken.
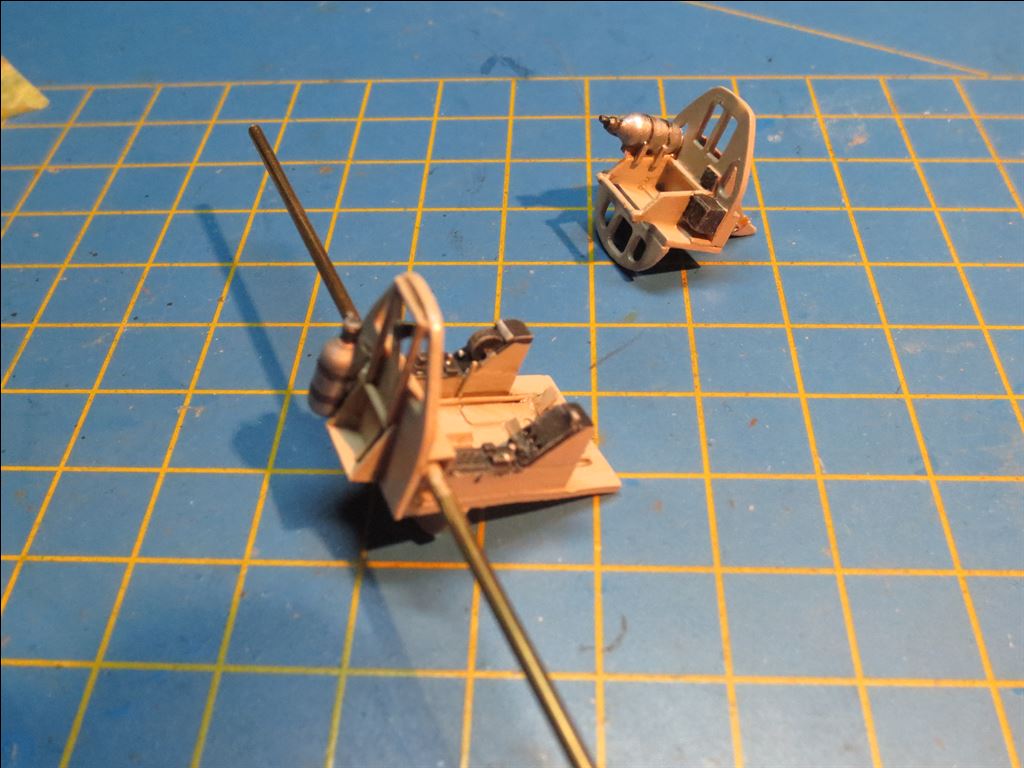
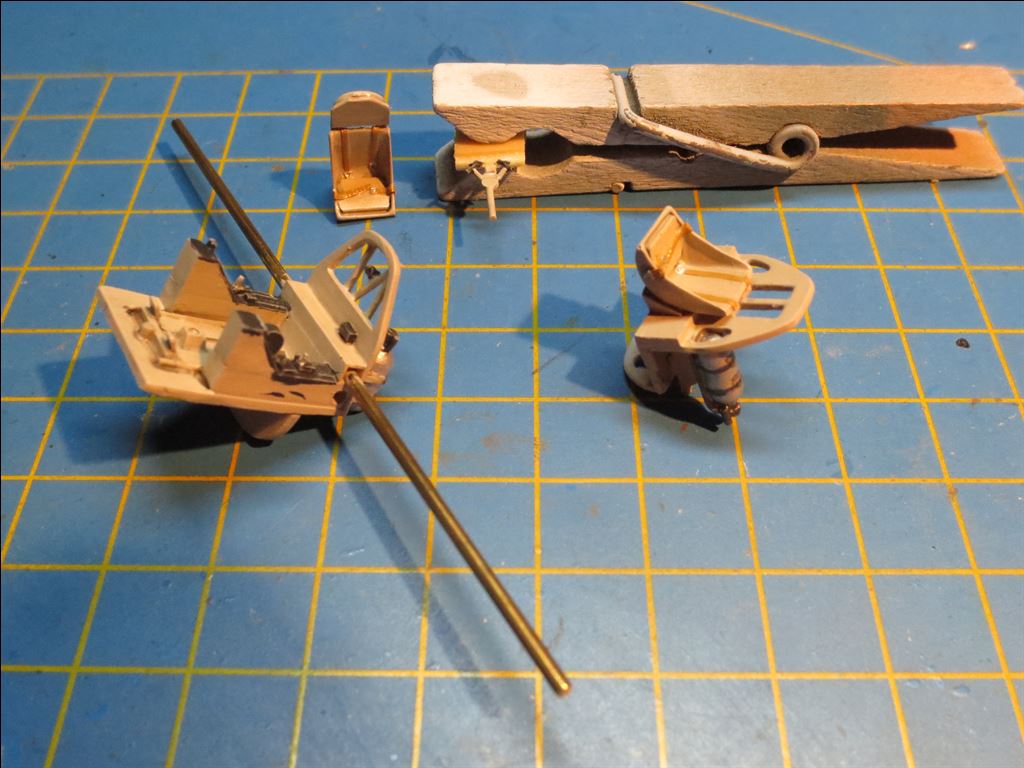
The continuing the construction the interior of the hull.
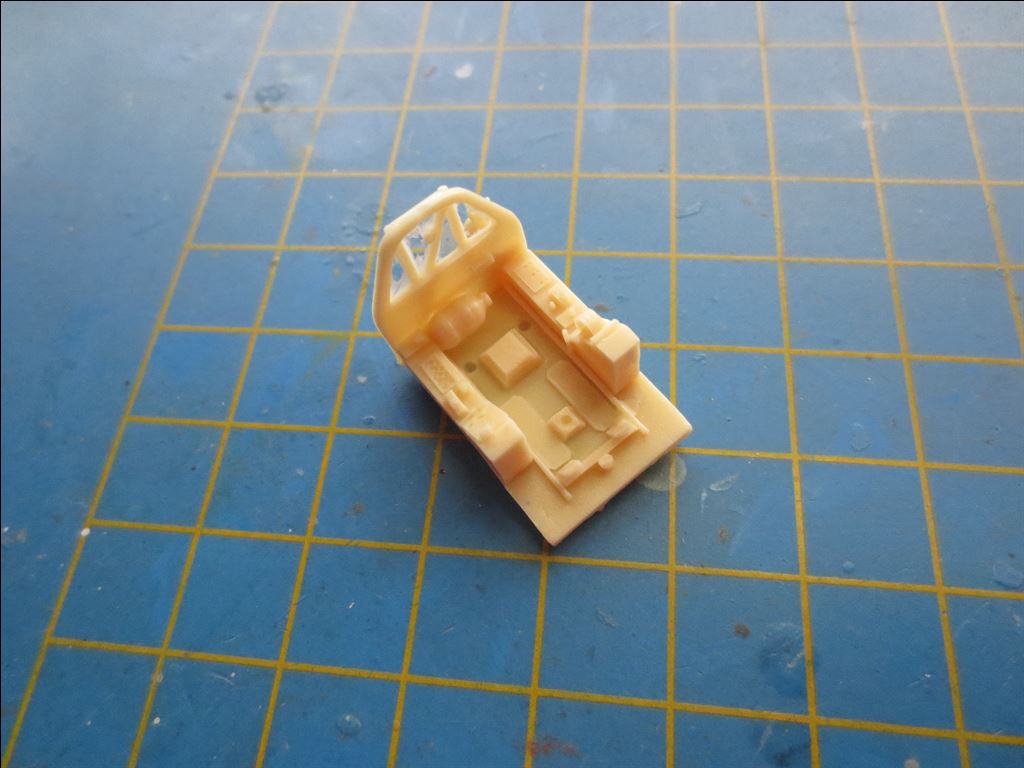
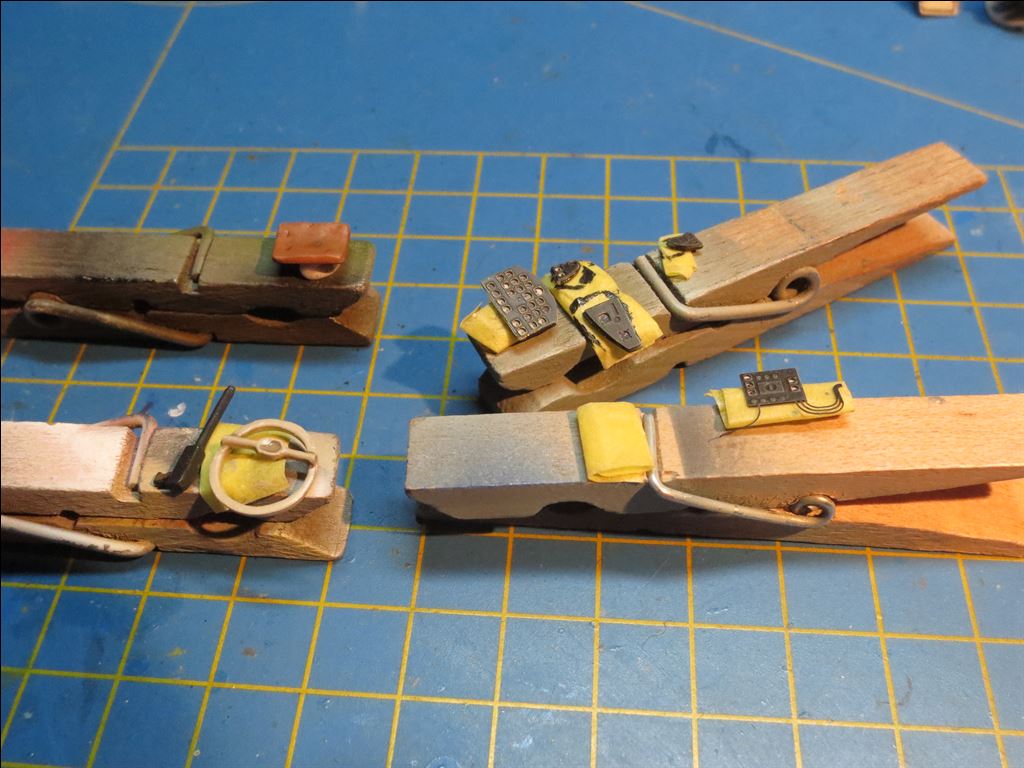
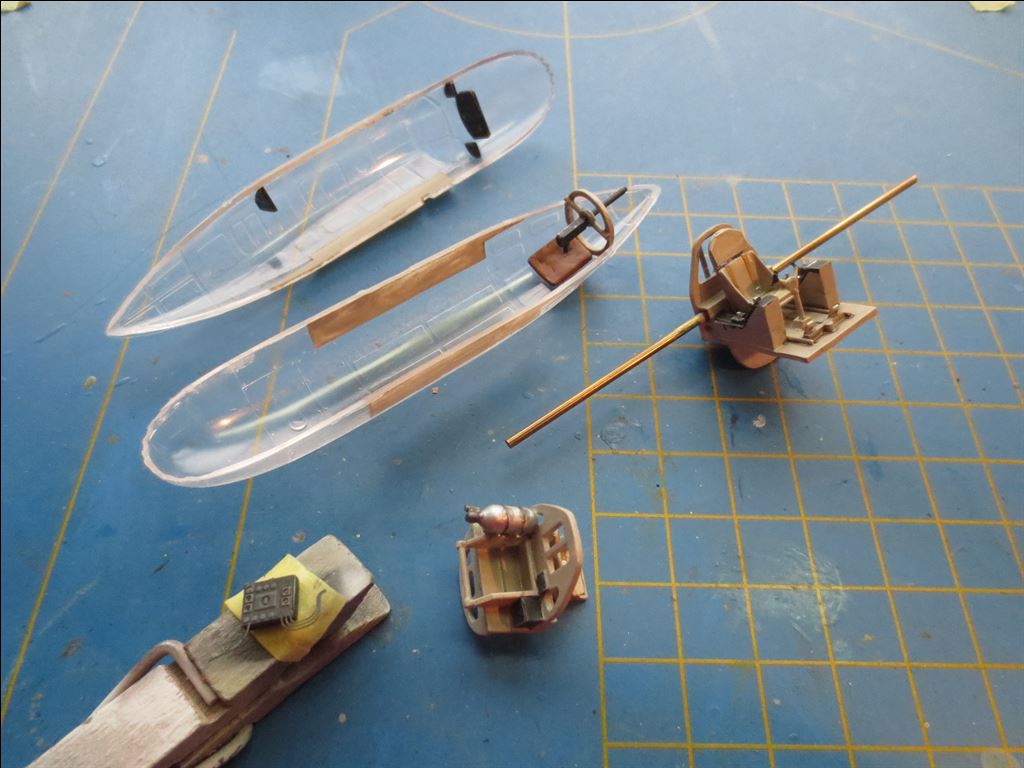
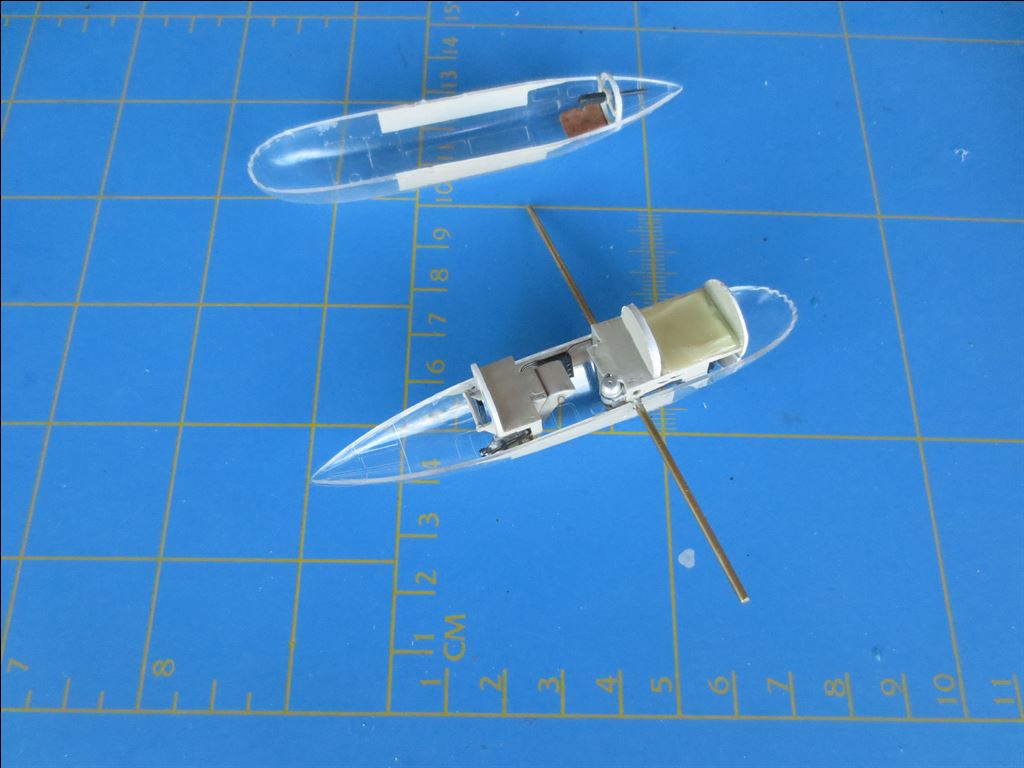
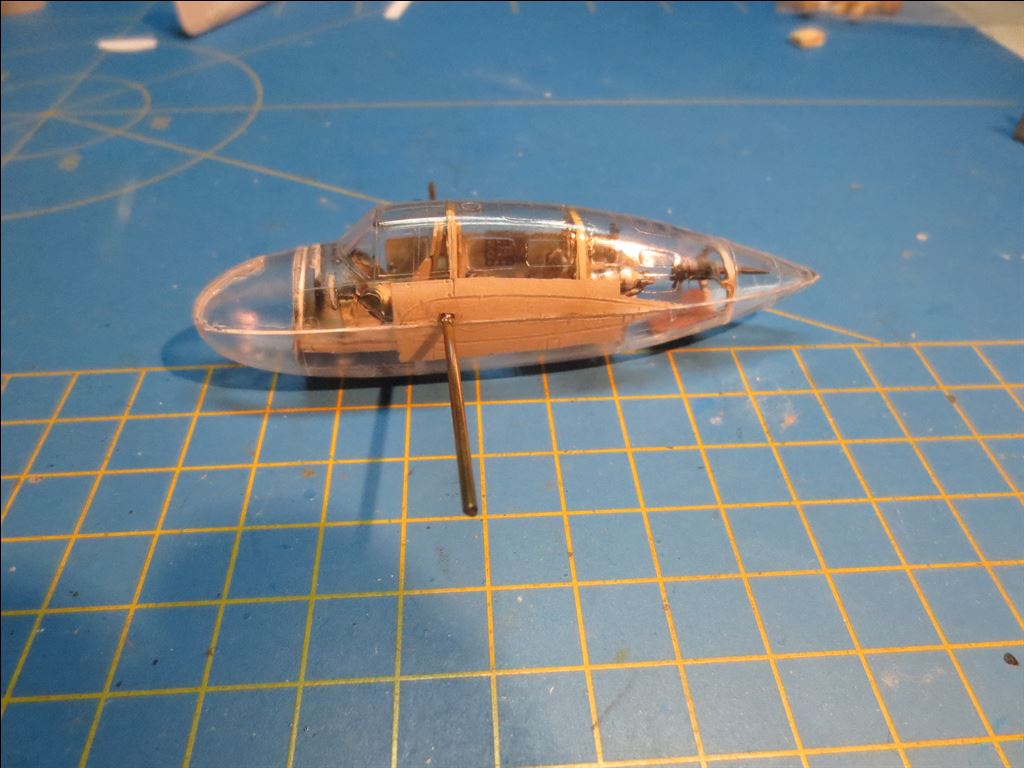
This includes making the instrument panels and cushions and also the weapon for the gunner. Because the hull is completely transparent, it is wise not to apply a insgtant glue here to prevent the infamous white haze (a result of glue fumes). everything is therefore mounted with ordinary plastic glue. The other partitions were put in place with two-component adhesive.
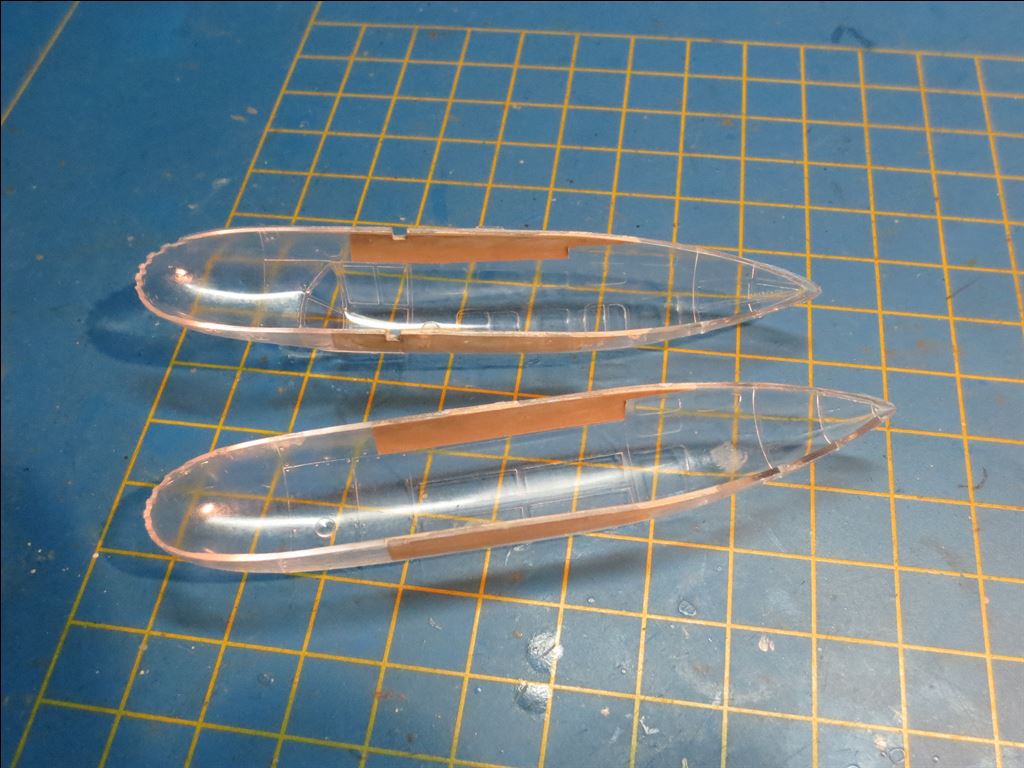
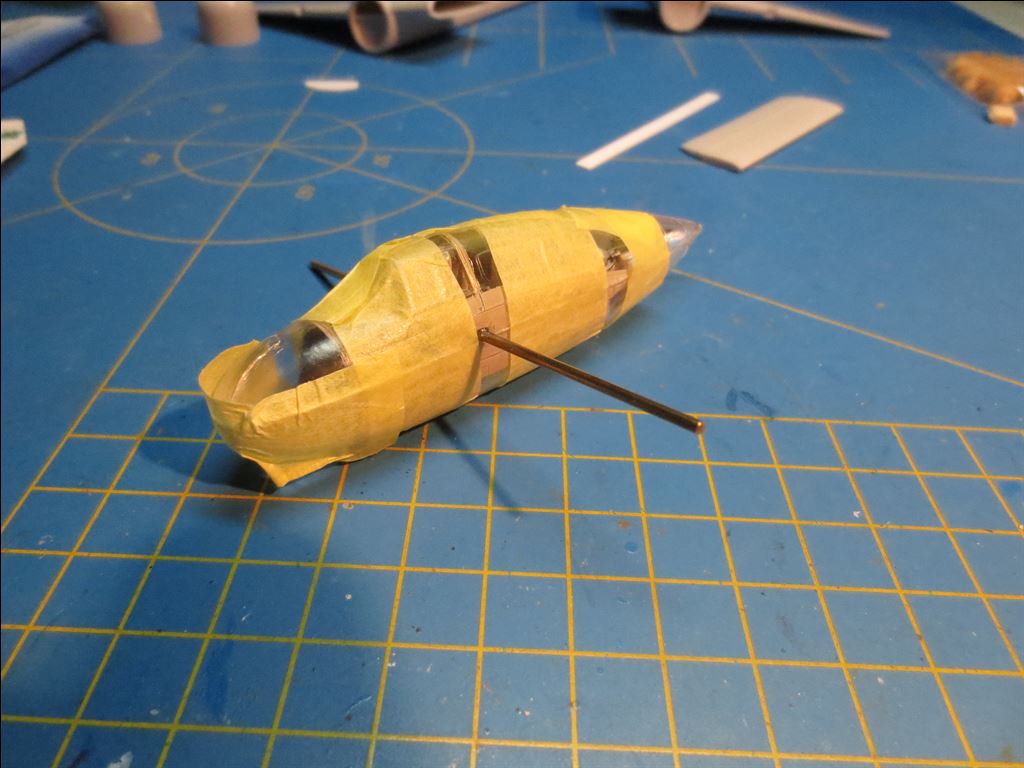
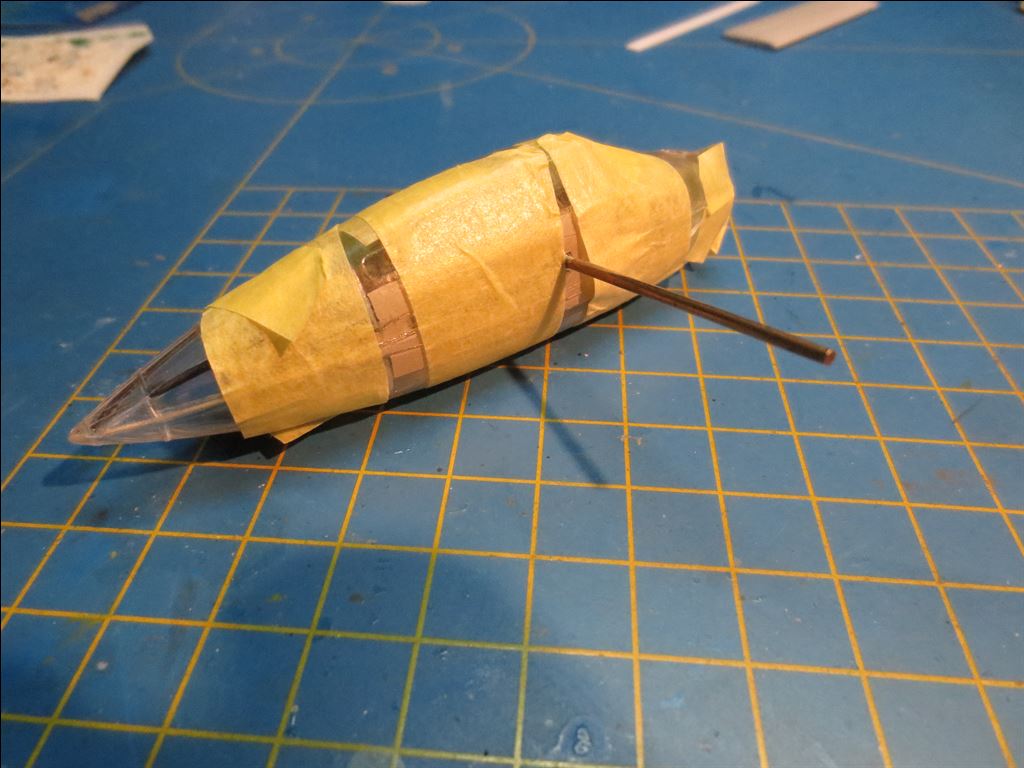
To prevent dust from entering the hull, a baffle is glued into it.
Due to unforeseen circumstances during assembly, there was a crack in one of the windows and, despite masking, sanding dust was still present in the hull. Moreover, the radio broke loose, so I had to equip the fuselage with a few open shutters.
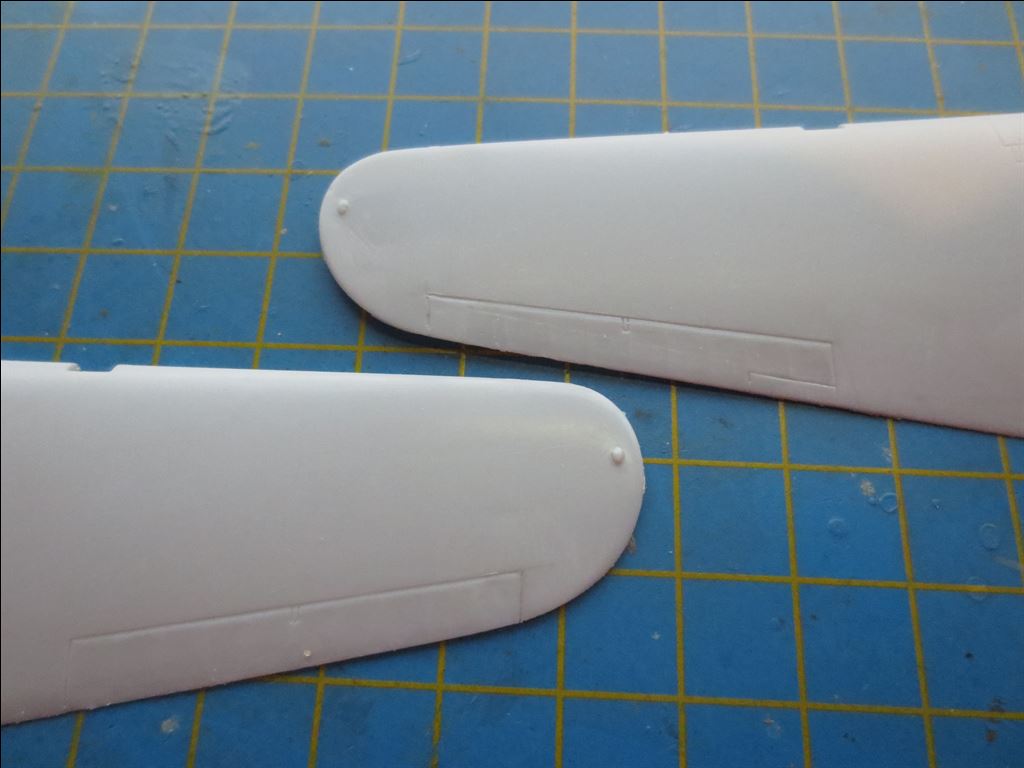
The tail and wing parts
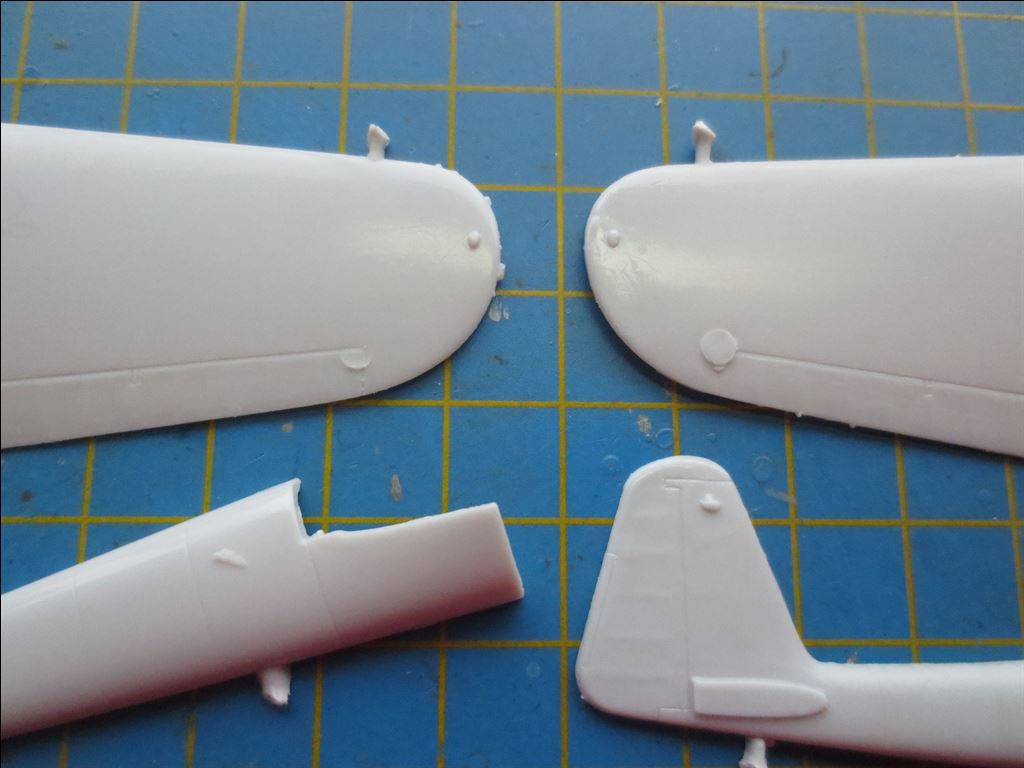
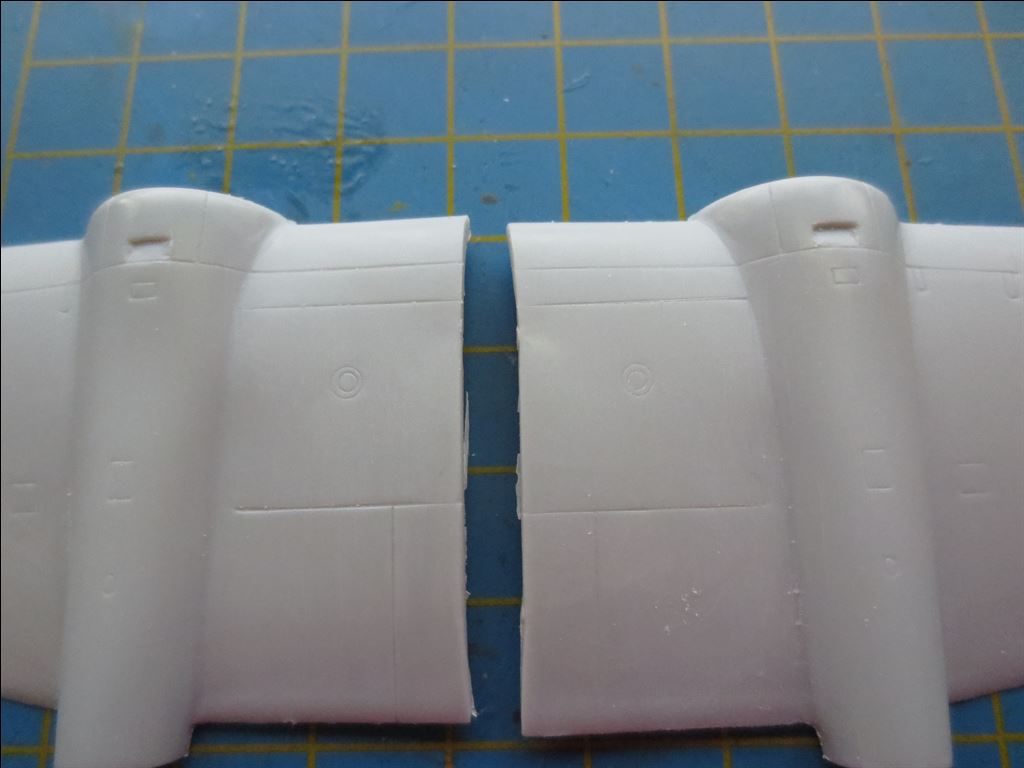
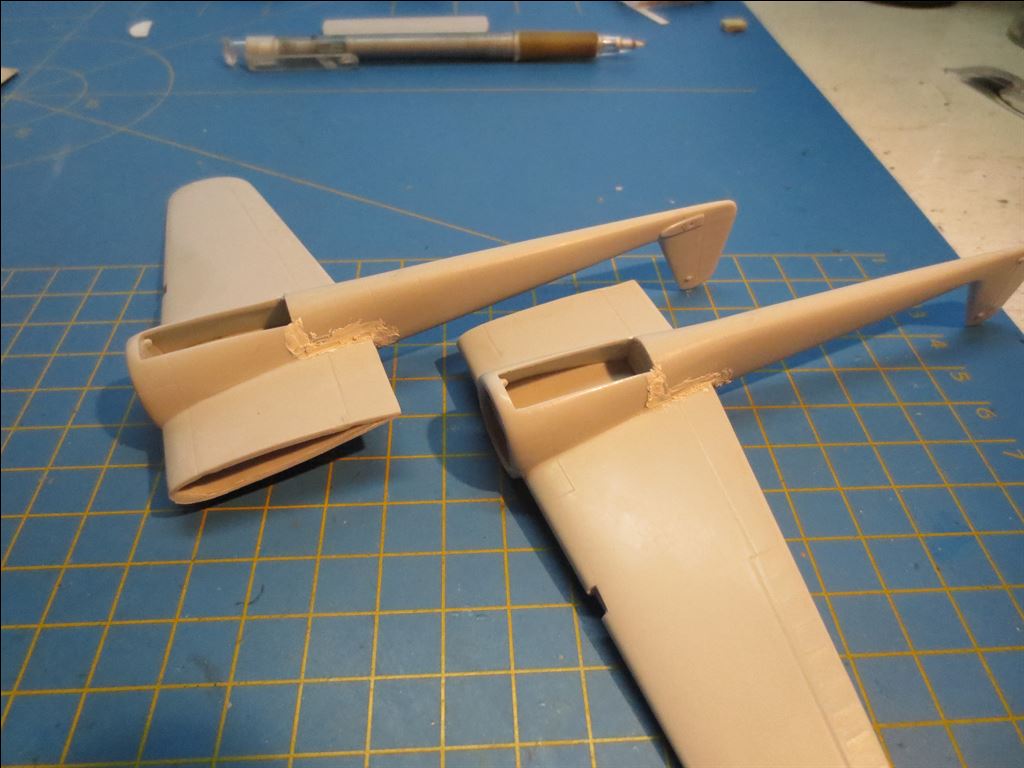
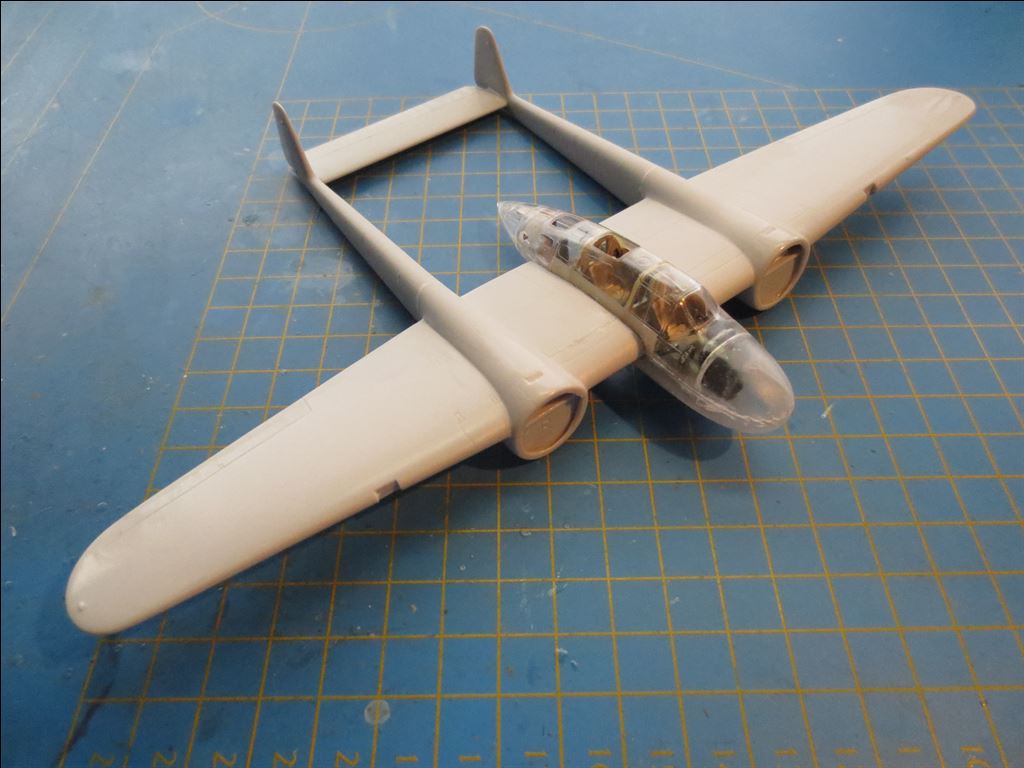
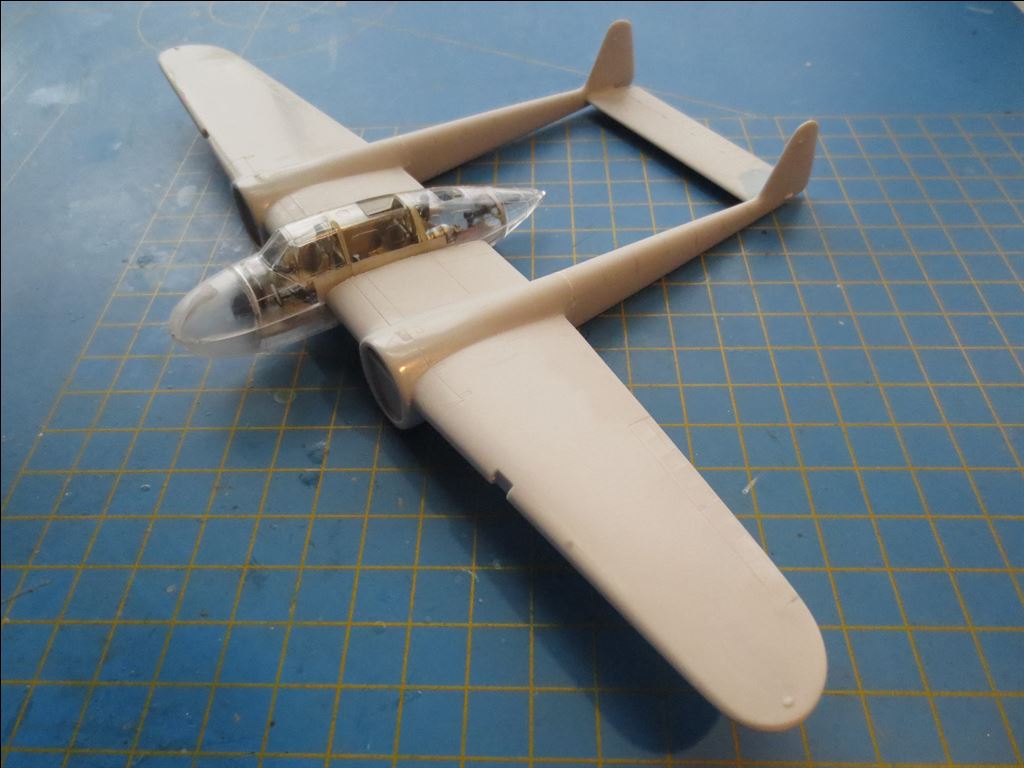
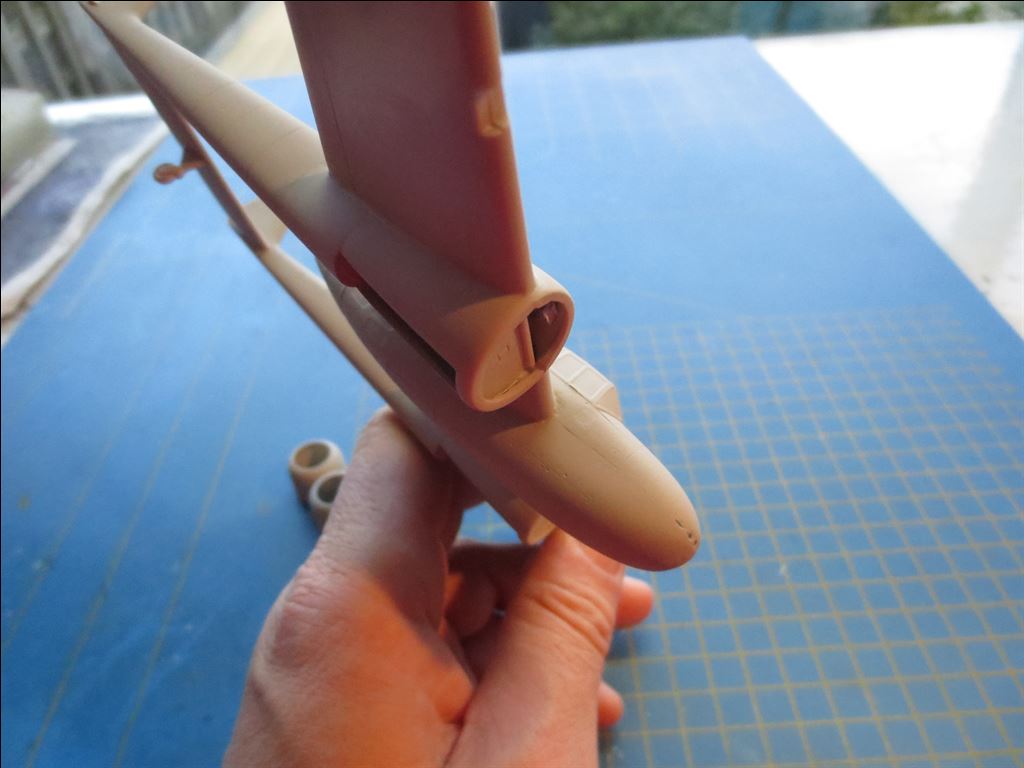
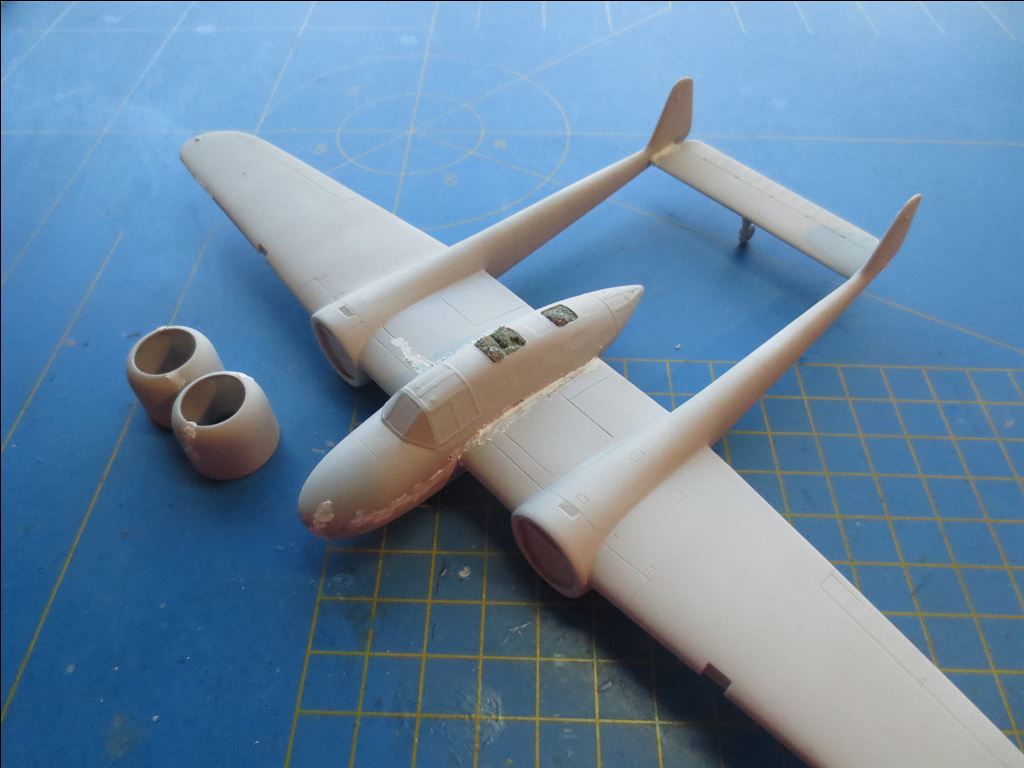
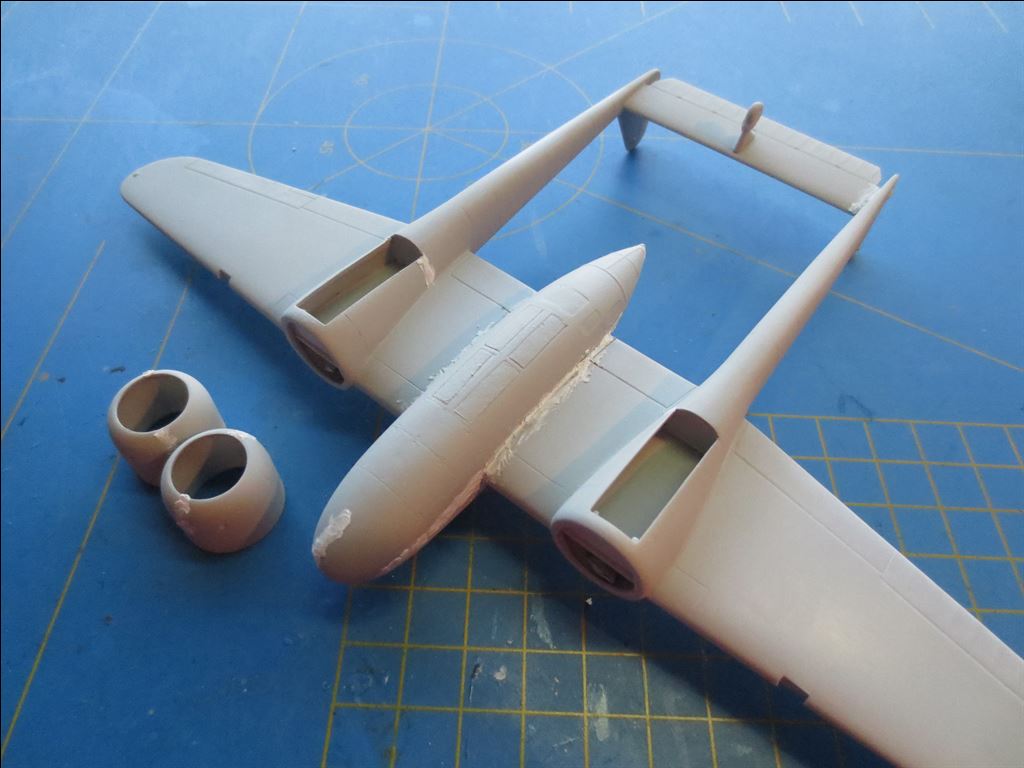
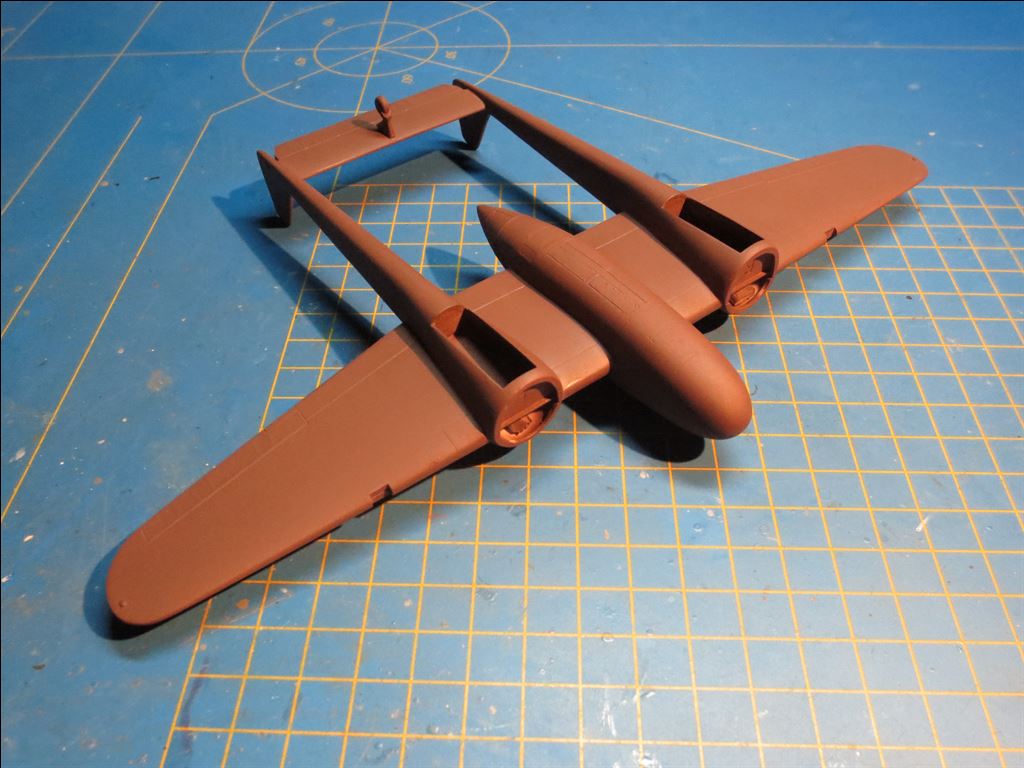
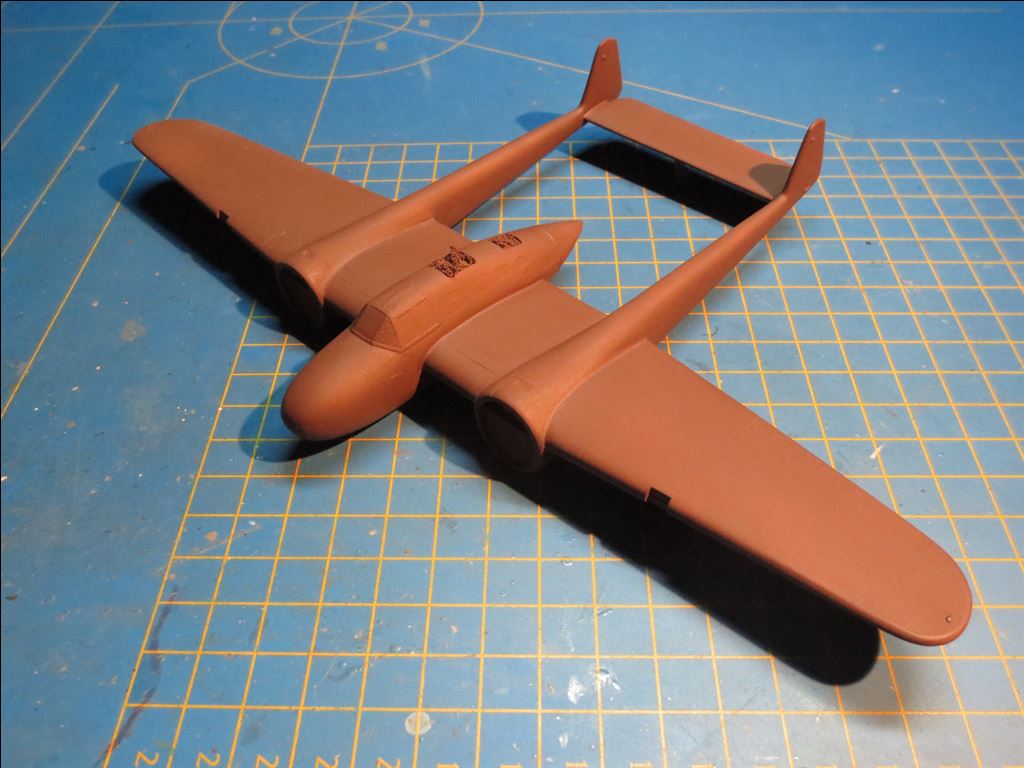
The wing root had to be provided with an extra edge of plastic at the top so that I could make it fit to the hull.
The connection between wing and tail needed some plamework.
Furthermore, on both sides of the fuselage I glued a plastic bar to the brass bar, to which the wing can be attached.
Plastic pins have been glued into the horizontal tail, which fit into holes in the keel surfaces for sufficient strength.
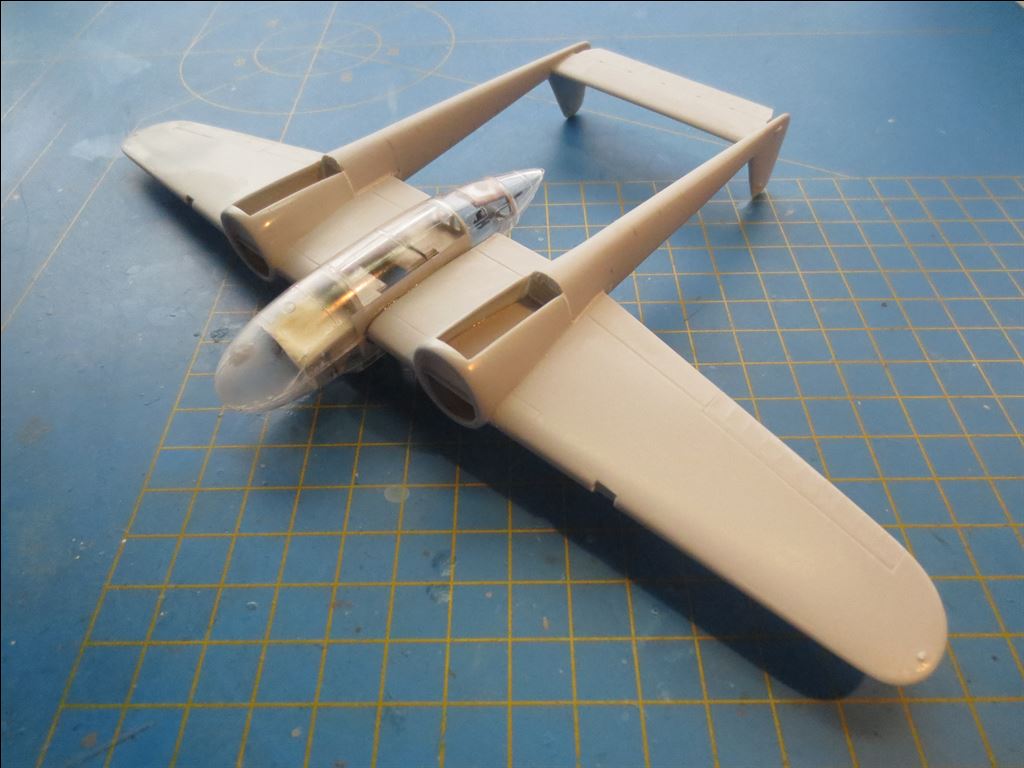
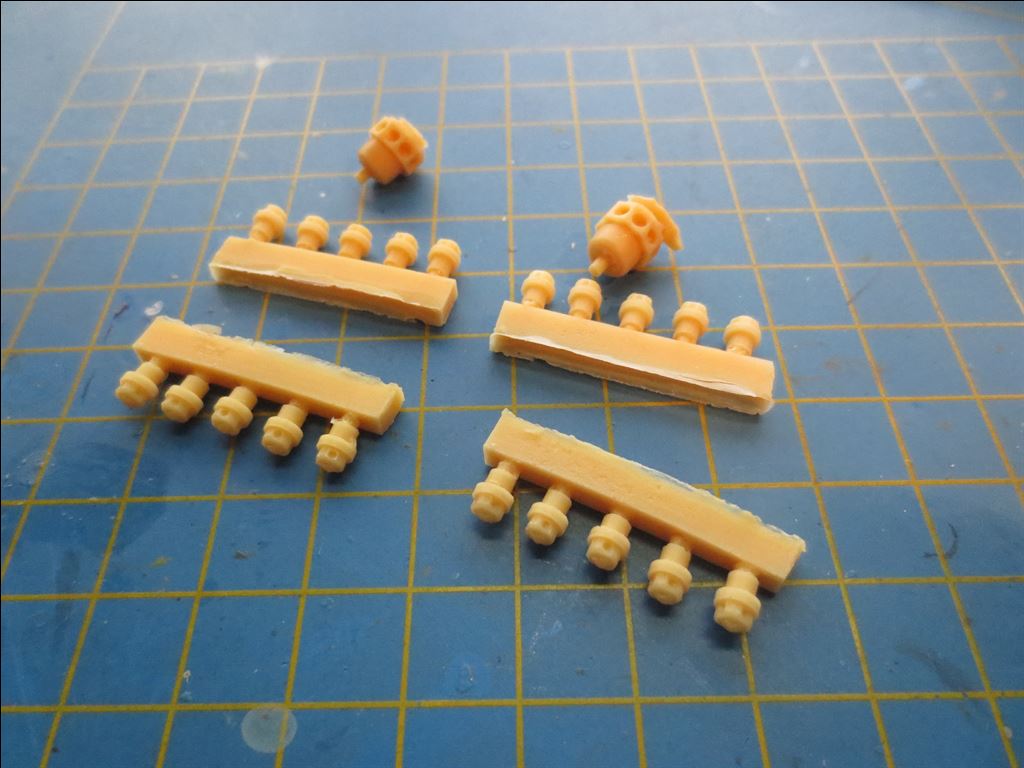
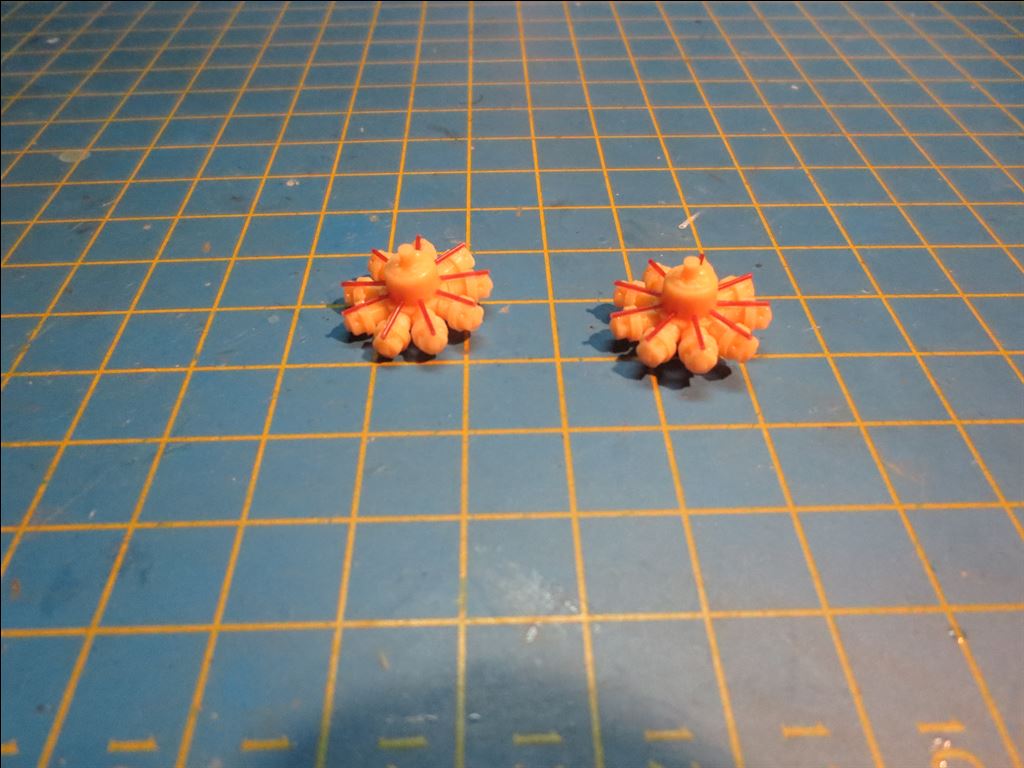
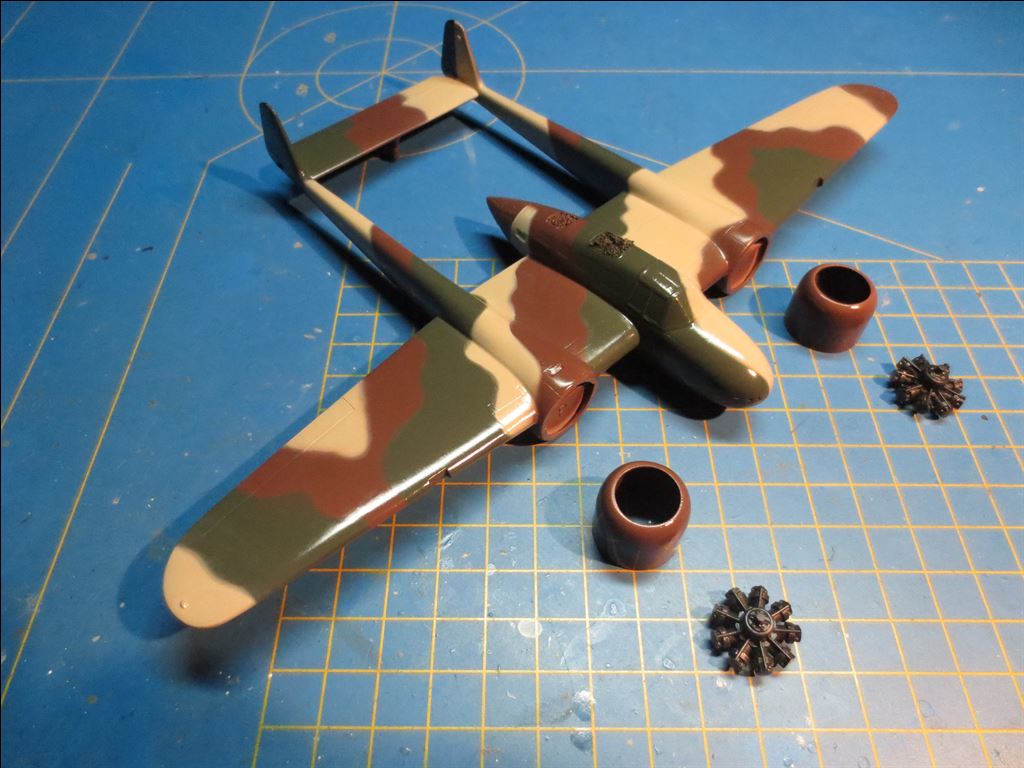
Meanwhile the resin engines are made. They consist of a crankcase and nine separate cylinders. In addition, I made the pushrods of plastic staff. They resemble a Bristol Mercury quite good!
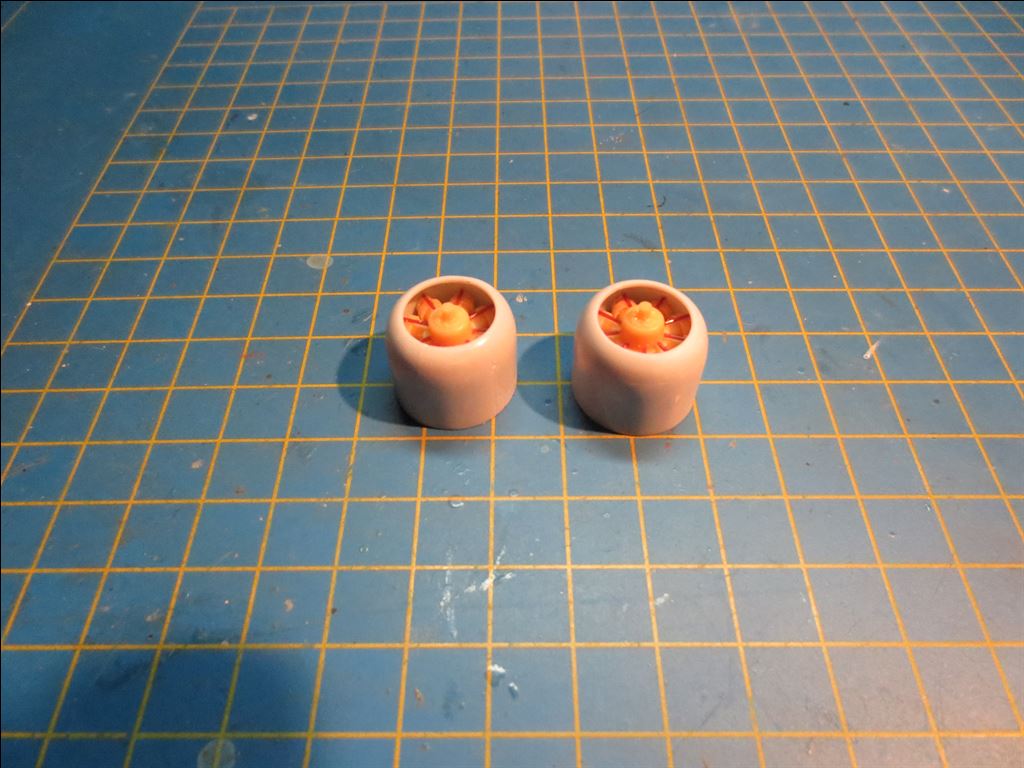
Of course they are also fitted in the hoods. From each cylinder only a bump and a tiny bit of the top had to be filed to make them fit.
Preparation for airbrushing
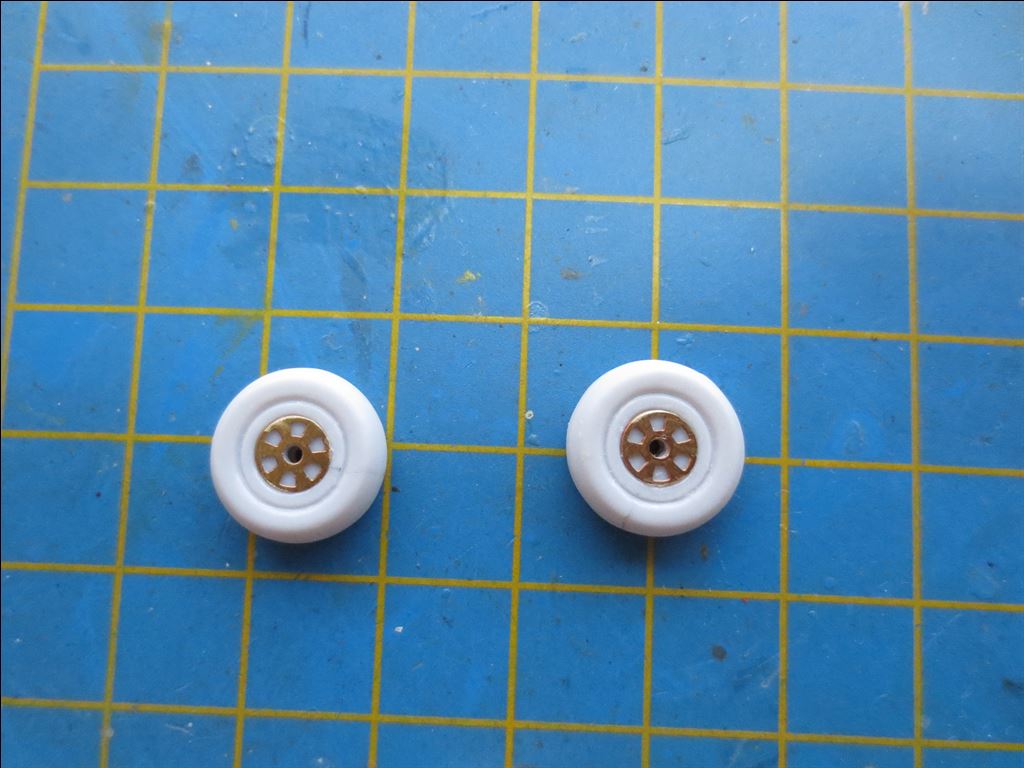
Both main wheels are equipped with photo-etching rims.
Furthermore, the patchwork has been checked, updated and smoothed.
The gray primer had to be sanded here and there with some smoothness before the dark brown layer could be applied.
Spraying and finishing.
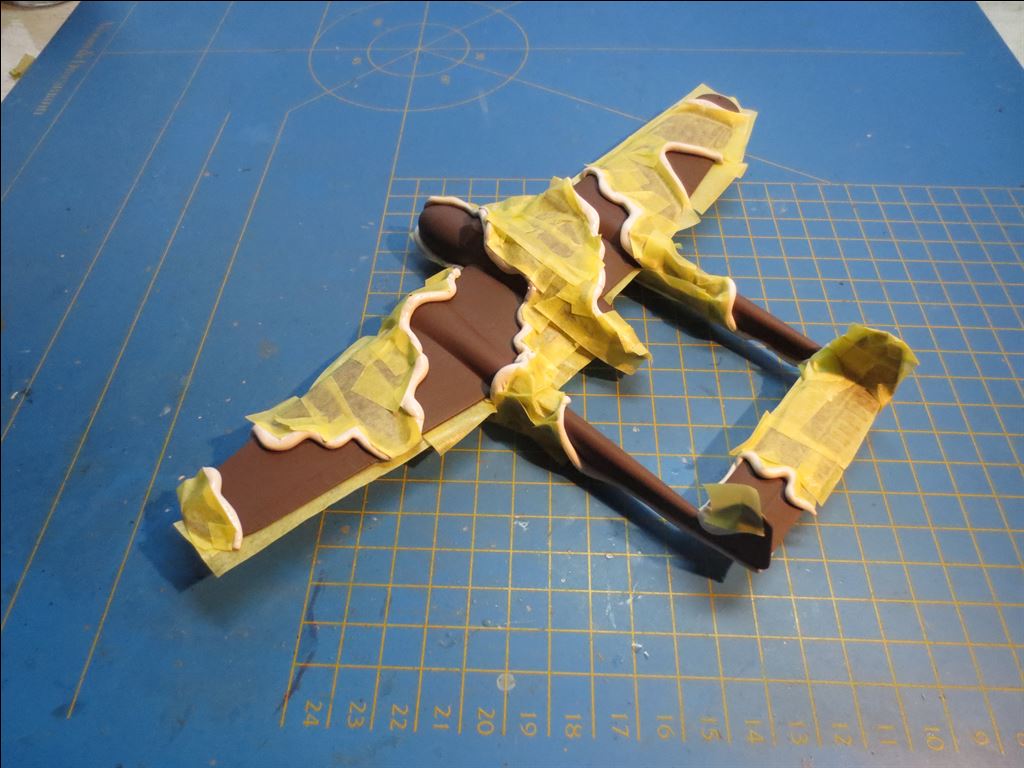
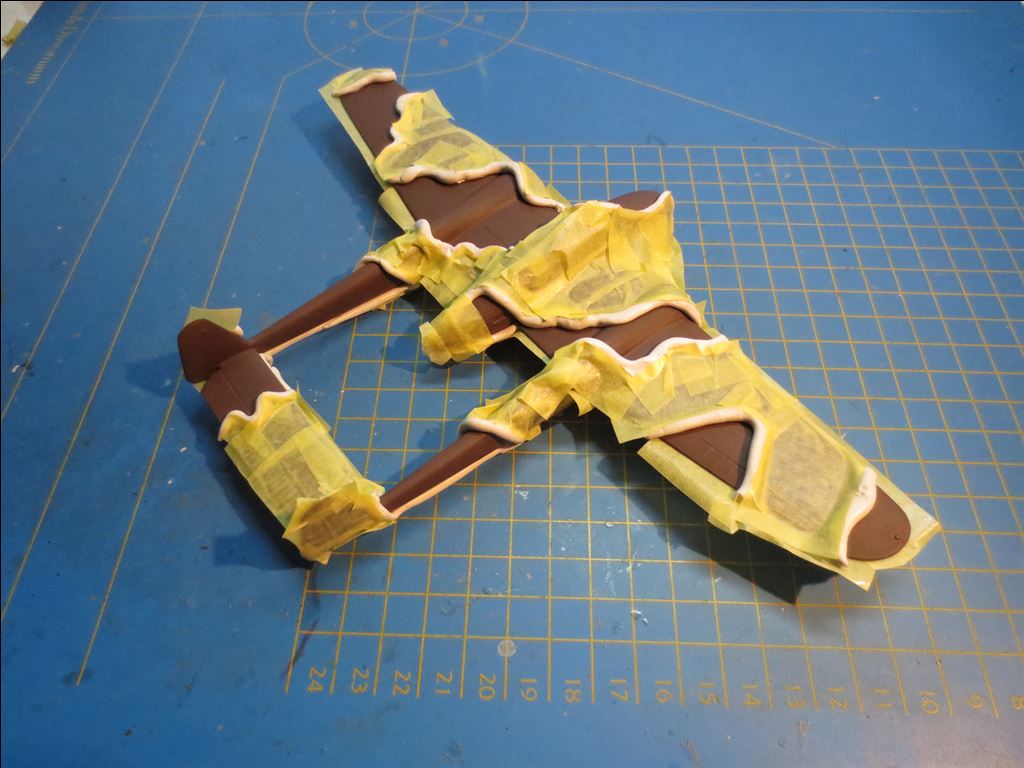
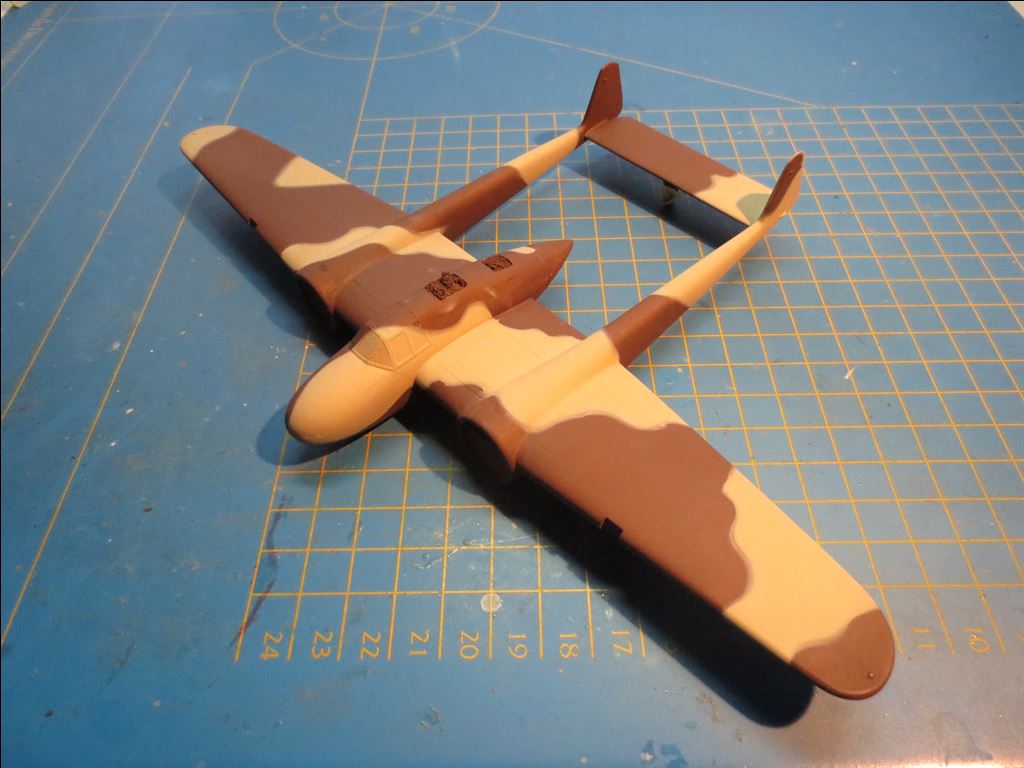
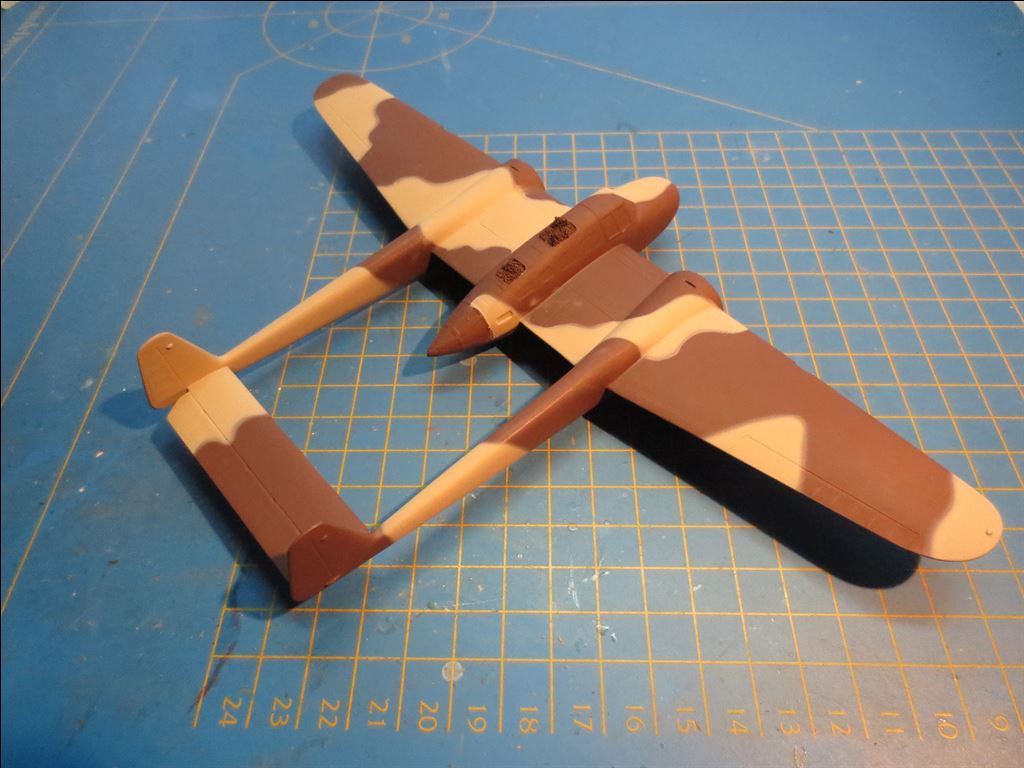
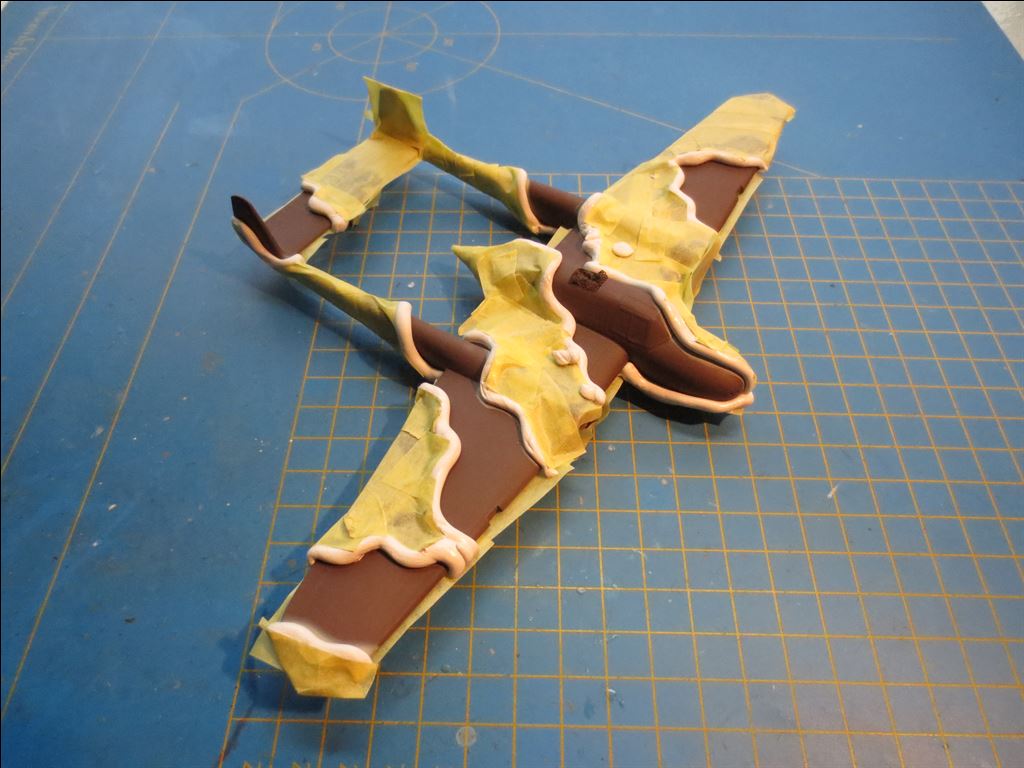
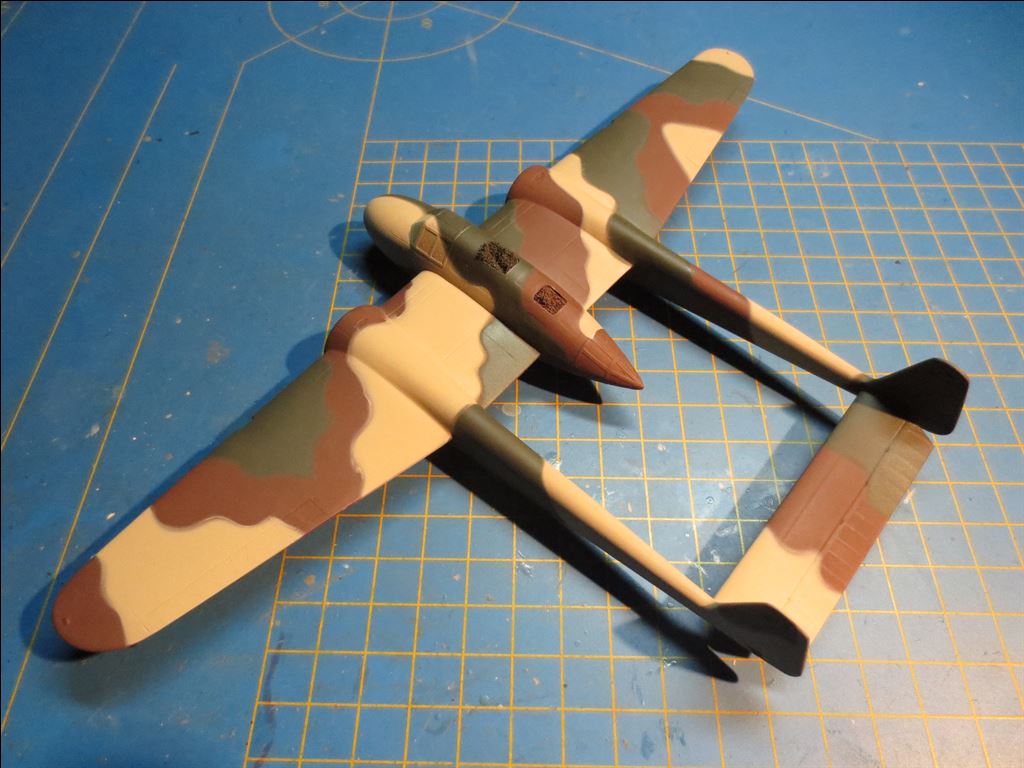
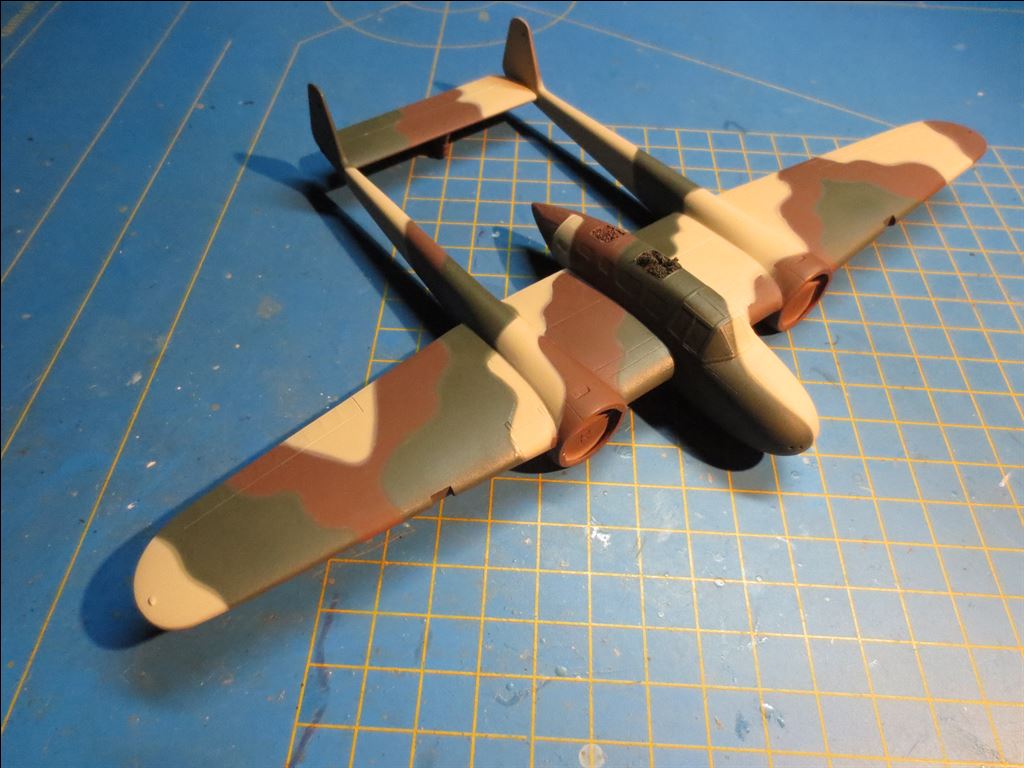
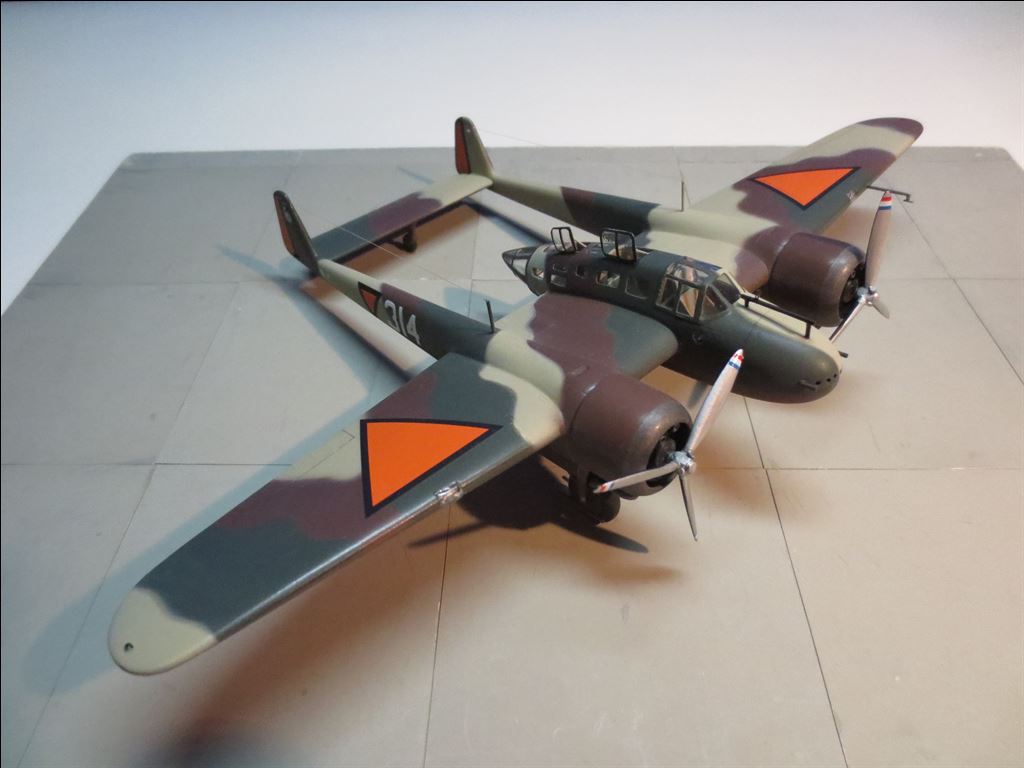
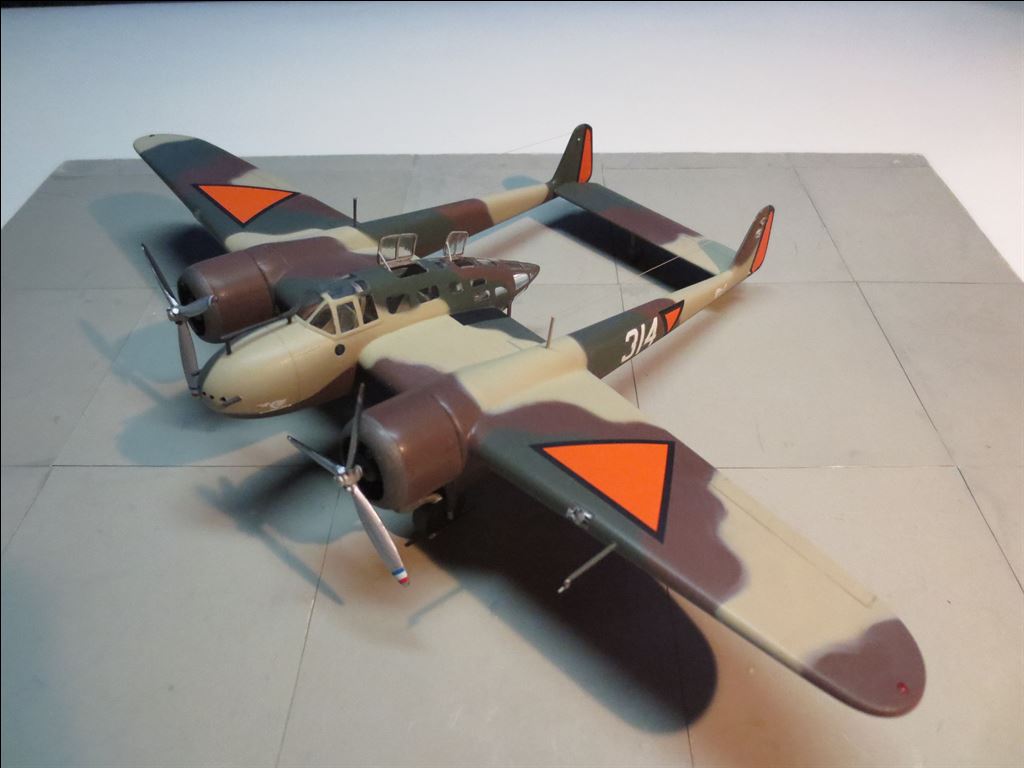
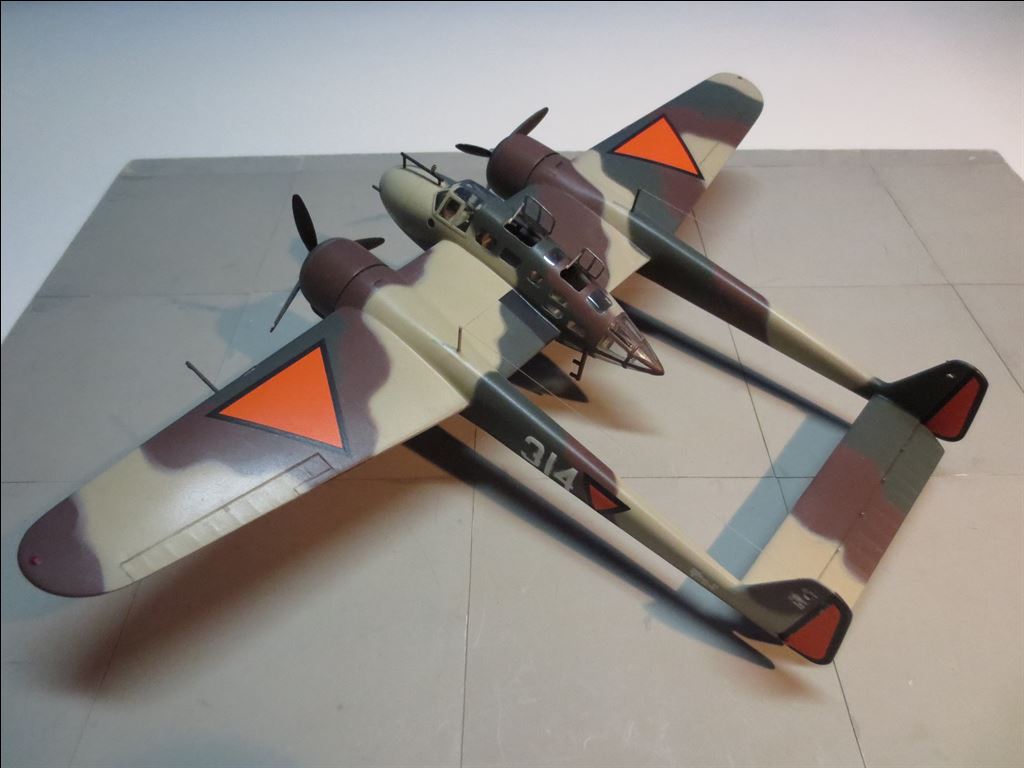
The dark brown underlayer is now provided with the camouflage pattern for the aircraft number 314. I have consulted as much photographic material as possible to be able to reproduce such a pattern as possible. [See the literature listing in the Fokker.G.I article]
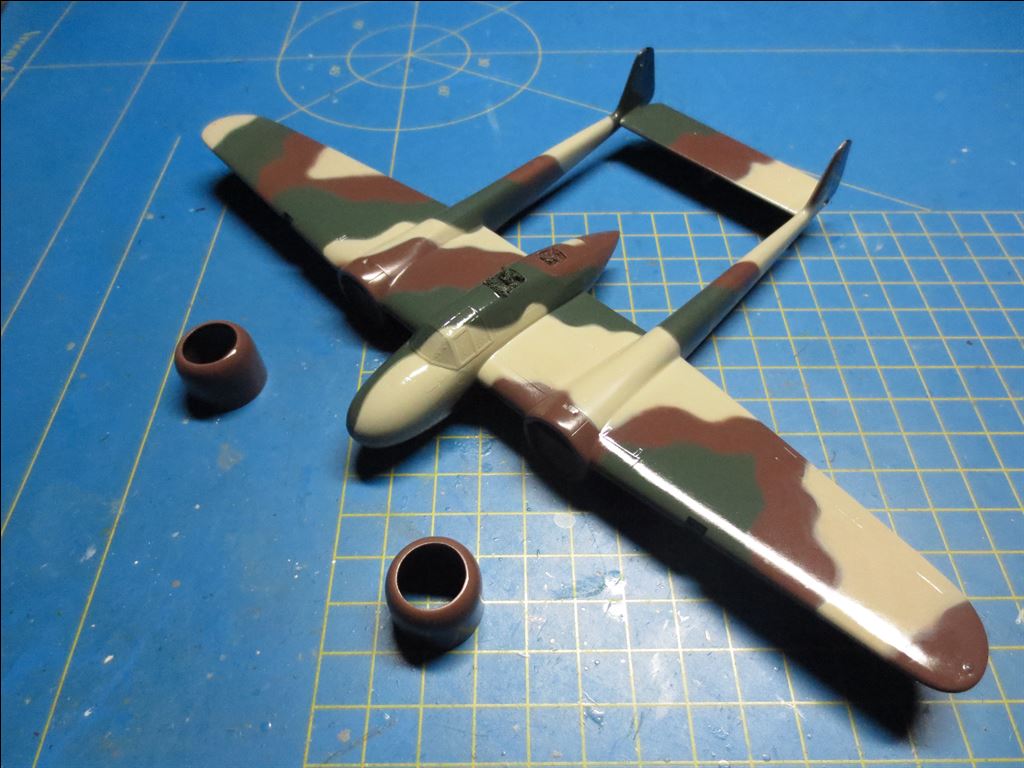
The painting here and there some updated and firmly put in the gloss lacquer (Alclad Aqua Gloss).
The model can now be further reduced. With a short run kit, it is especially important to adjust everything often before attaching something.
The result.
