The kit
The Matchbox kit of the PBY-5 Catalina 1/72nd scale.
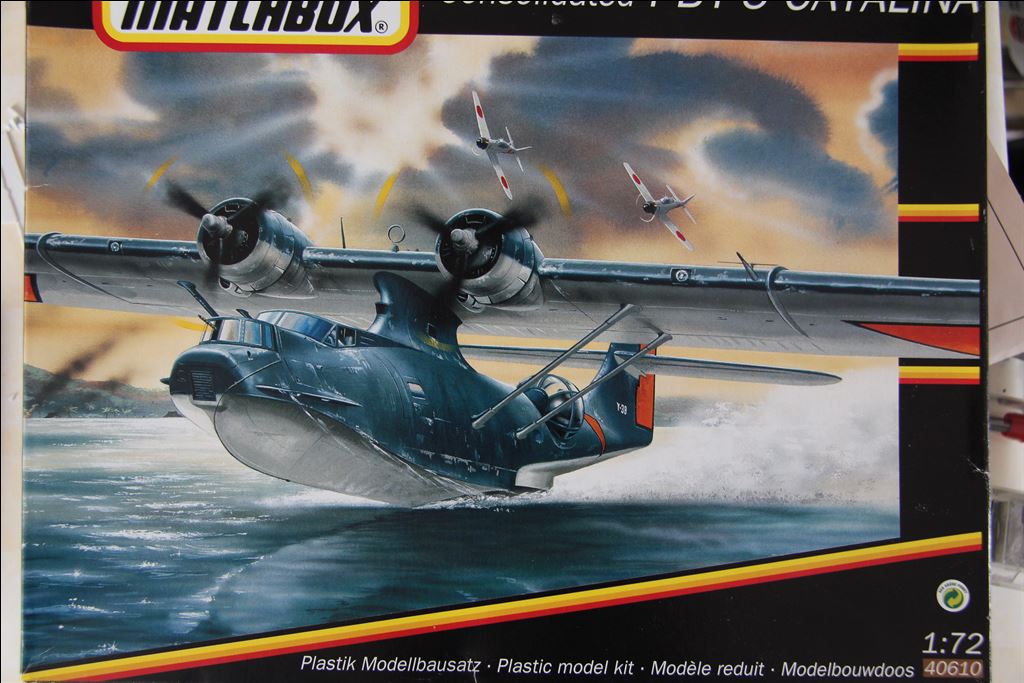
The kit itself is actually the old Catalina kit of Revell. The model is is rather good, but rather spartan in terms of detail. Also very much riveting is present.
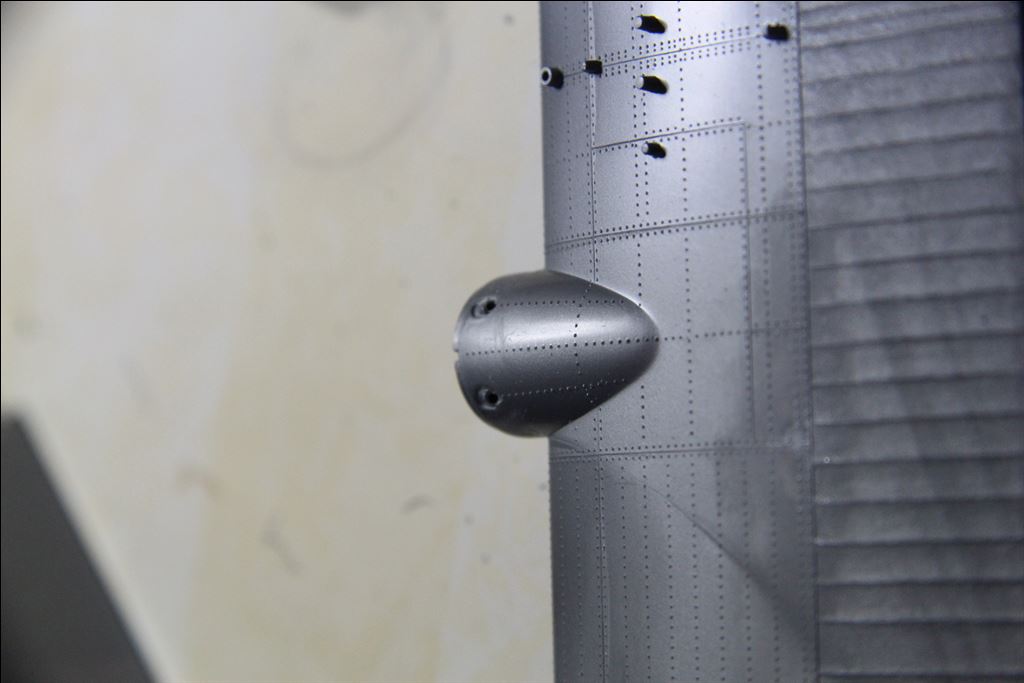
After some intensive research on the internet I found information about the internal detail of the cockpit and blisters. I found some nice photos of the 1/48th scale model of the PBY-5.I used these as reference and scratch built some of the details.
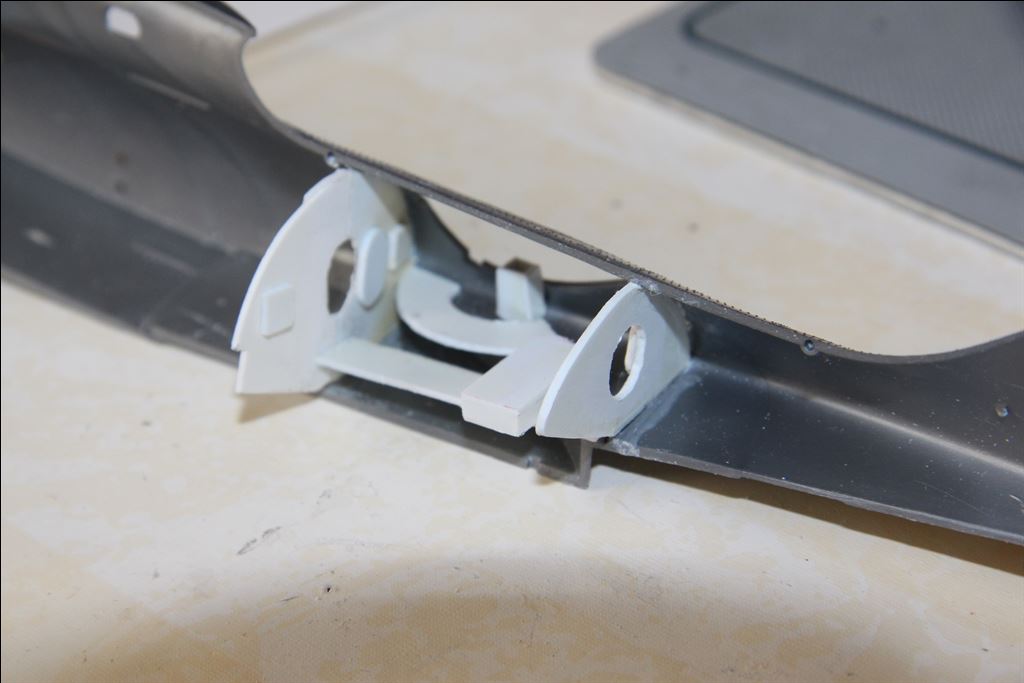
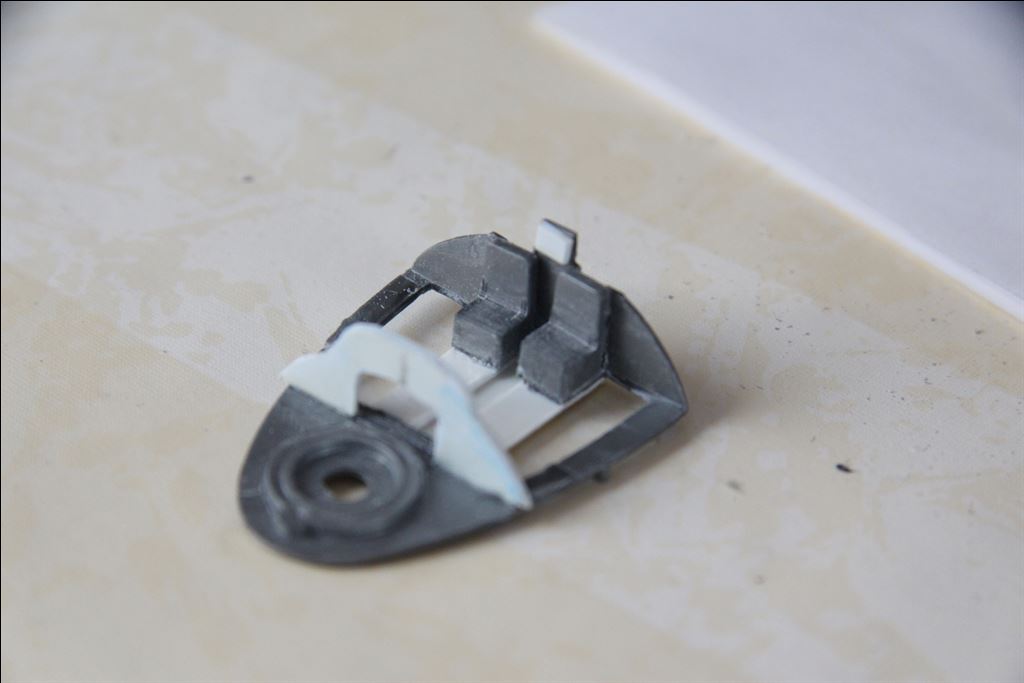
The cockpit section and the base of the front turret are a single unit. The instrument panel, I have slightly modified and I added some more detail to the "office'. The steering is in the Catalina pretty special and both steers are on a kind of hoop with a control panel with buttons, etc. between them. A nice photo I found on Airliners.net.
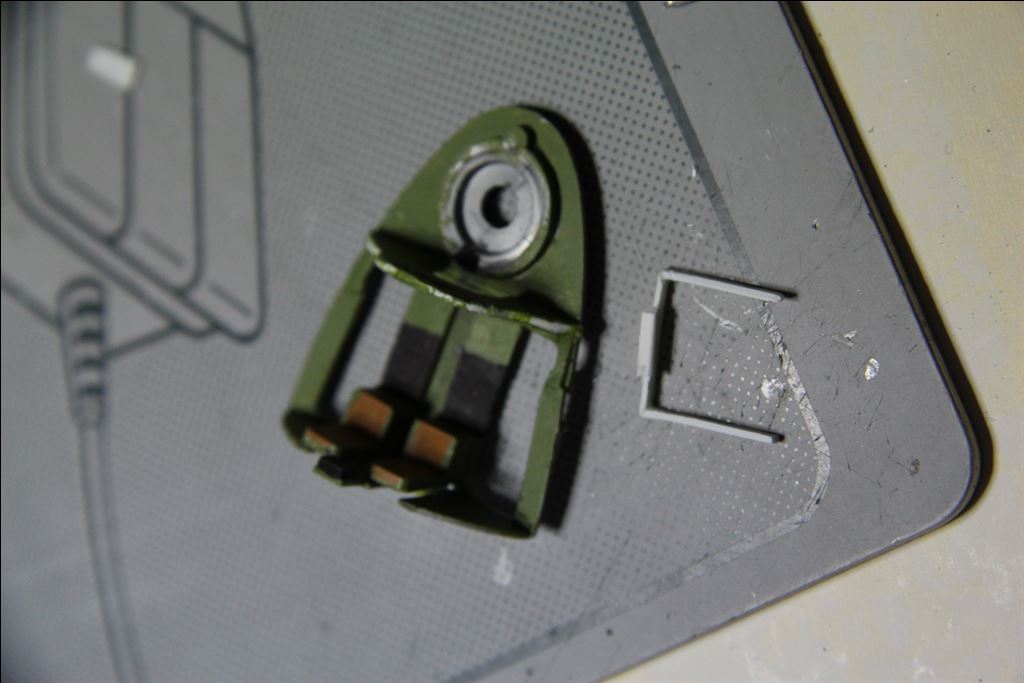
The steers from the kit differ too much from the real ones. I replaced them with examples from an old Dornier 24 kit.
Assembling the wing
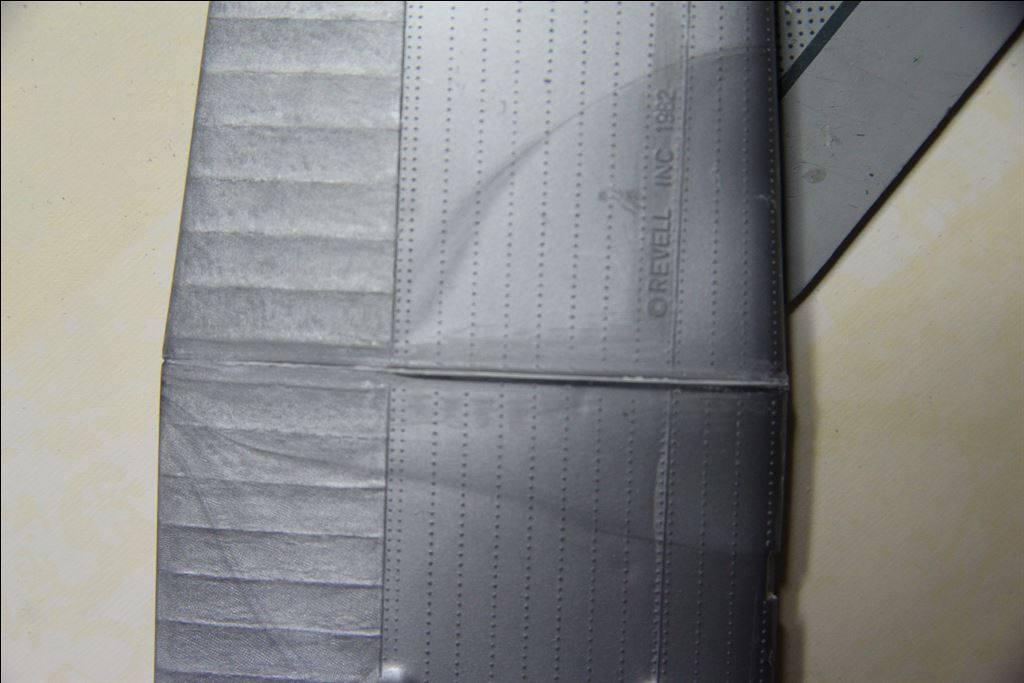
The wing consists of three sections, a centre section with the nacelles and two outer parts.
These parts don't fit well together. The panel lines aren't quite well and the seam needs to be filled.
If you don't fill the seam properly, the outer wing panels don;t align very well with the centre section. I added some strip to align the three wing parts.
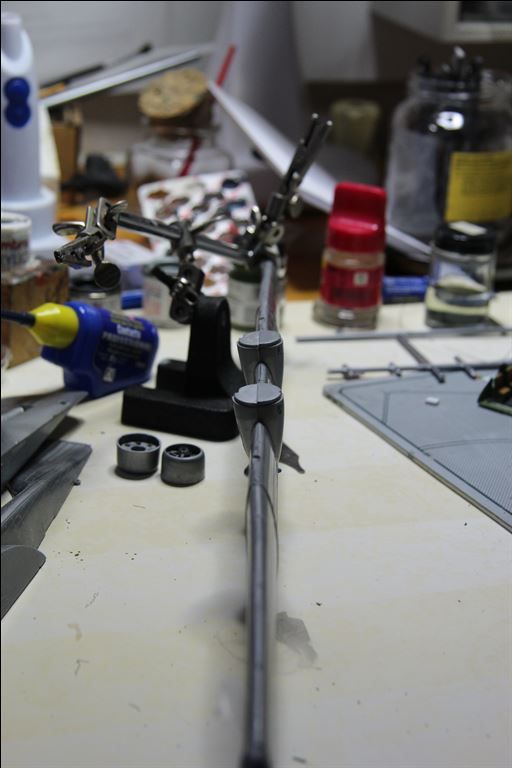
The paint job.
The underside of the model, I have painted overall white Humbrol 34, mixed with a little sky Humbrol 90, so that it became a slightly milky colour. [at that moment I had no airbrush and compressor available]
The top of this kit I sprayed with Vallejo Model Color 70 898. The result of this first spraying job turned out not to bad, though I suffered occasional splashing of paint, the result of so called "Dry-Tip" (paint dried on the top of the needle of the airbrush). Thanks to some tips of fellow modellers I overcome this small problem.
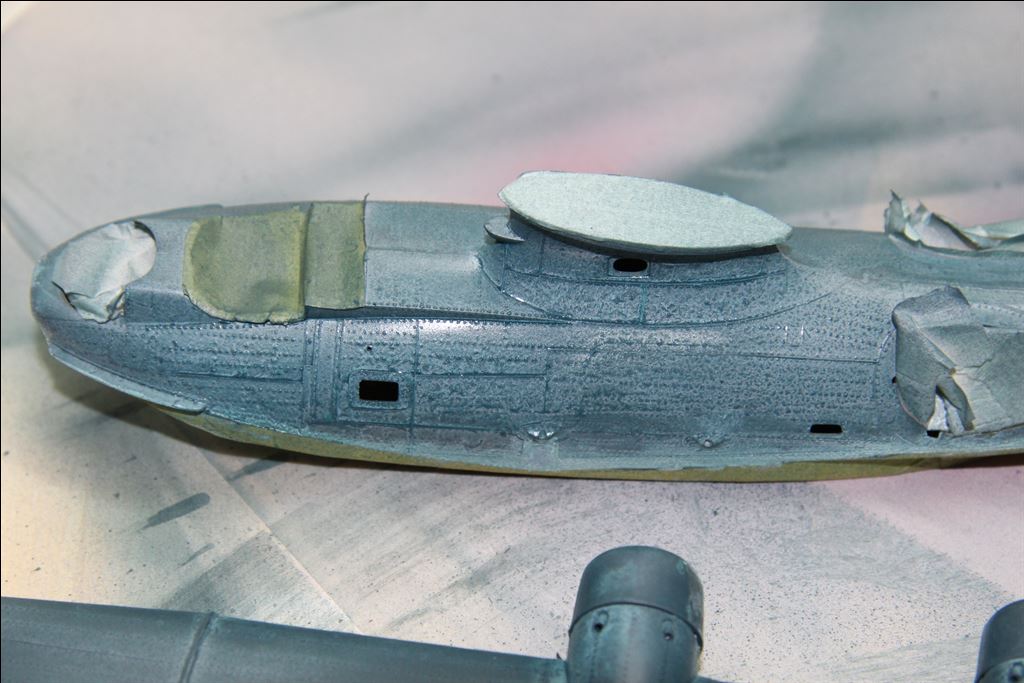
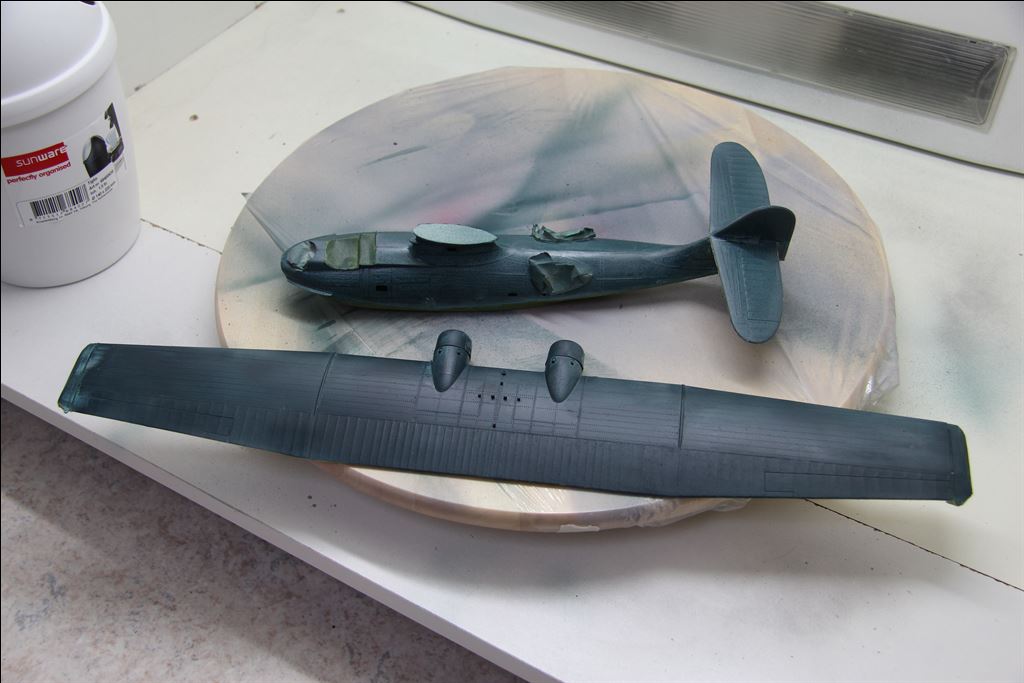
Alas the paint was rather easy damaged. With some rework with an ordinary modellers brush I could remove the damage.
Decalling.
The decals of this over 20 years old kit were quite yellow, I attached them to our roof window in the sun for a week with a good result, as you can see below.
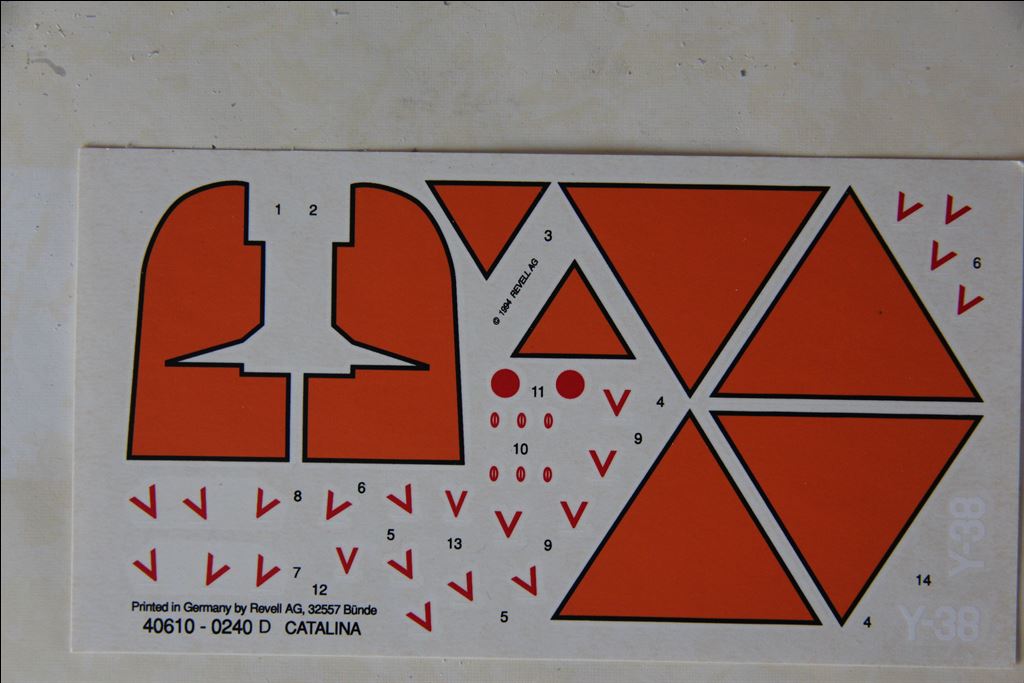
The decals were quite brittle due to their age, but with a coat of varnish they could be used s. With some decal set and sol showed they could be pretty good applied. The large decal for the rudder did not to fit well and some cutting was needed to have it attached.
Despite the application of a layer of glossy varnish (after spraying it on the model it turned out not to be that glossy) I still had some problems with some of silvering when applying the decals.
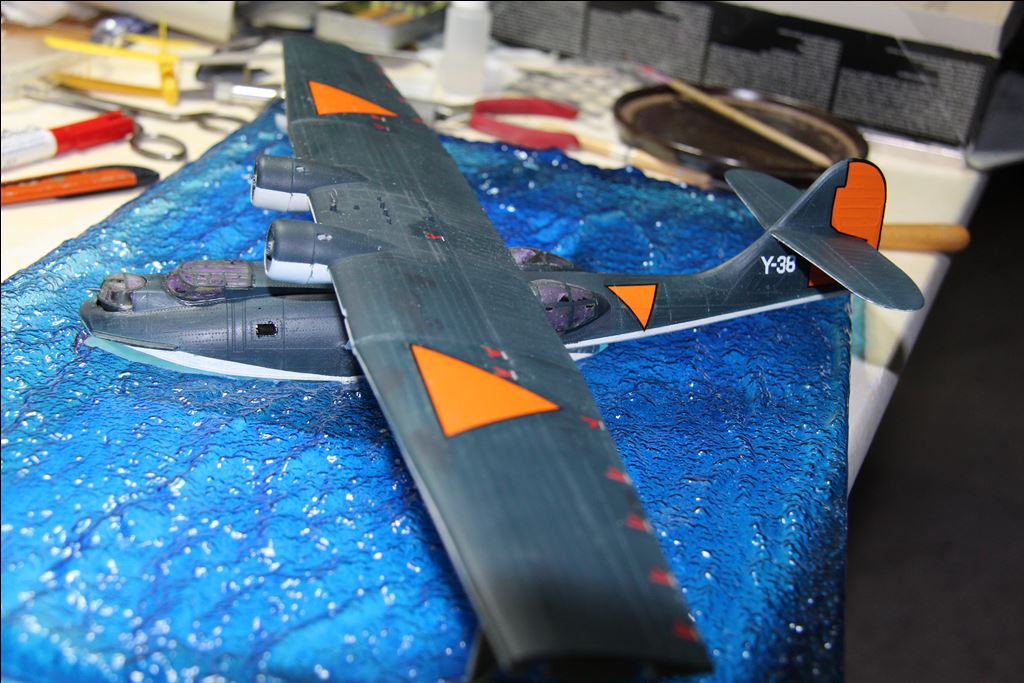
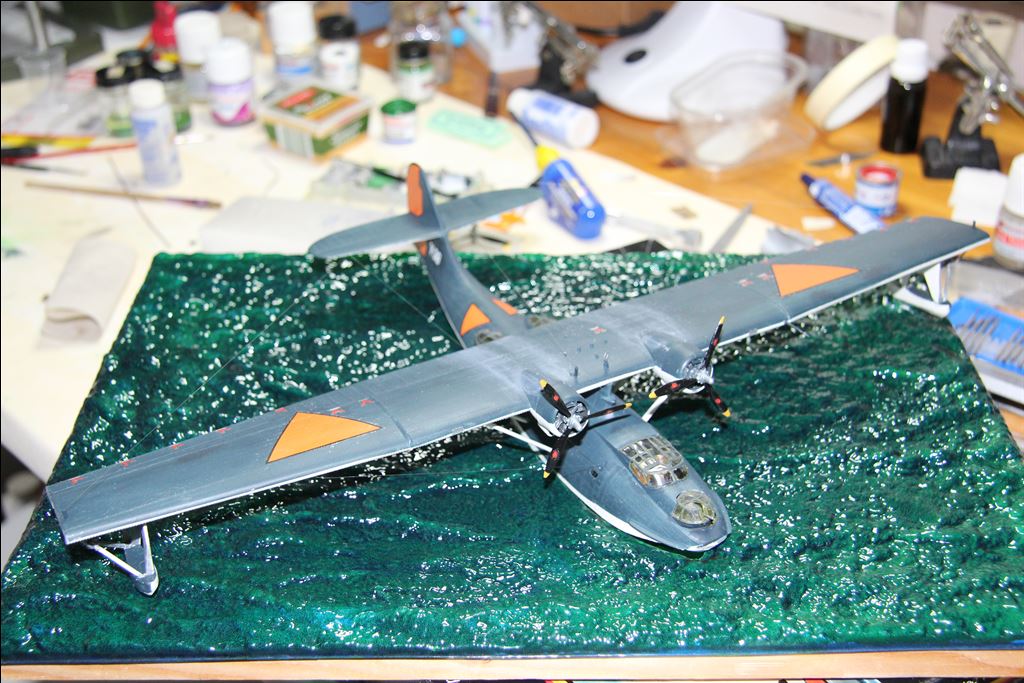
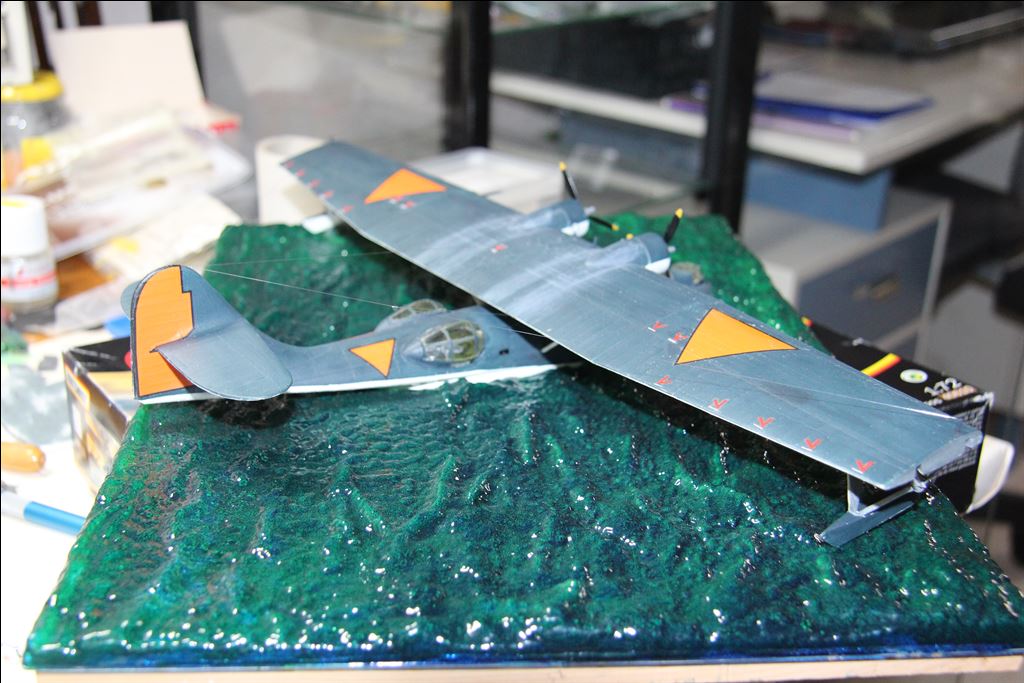
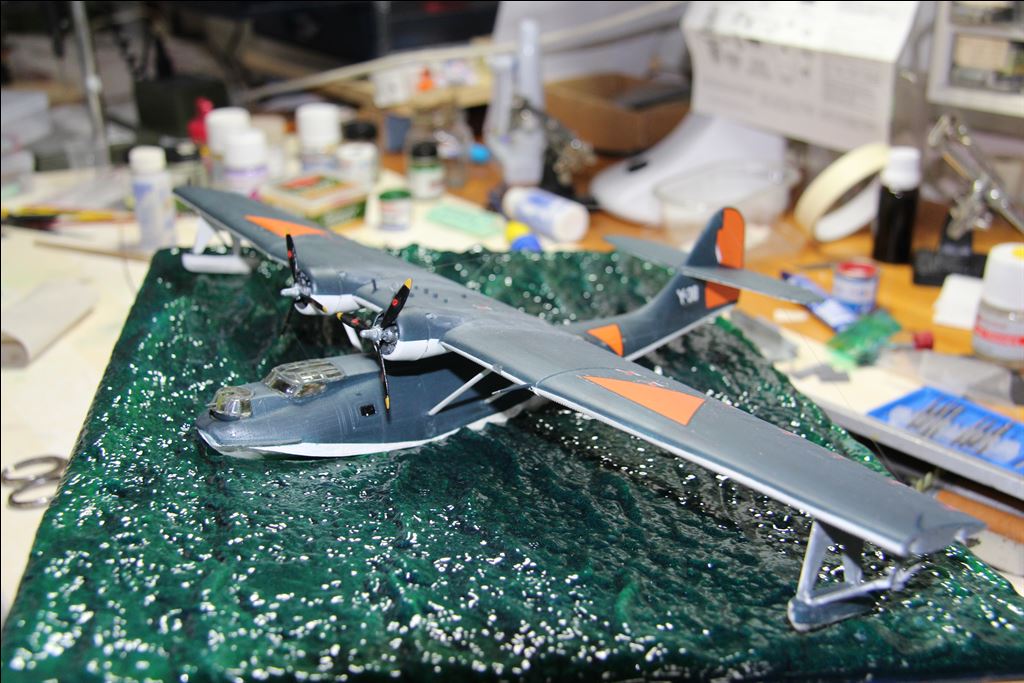
The model is laying in the 'water'.
The model was sprayed with acrylic Satin Glitsa.
Adding the Glass ware
Glassware kit did not fit too well, in the canopy and in the two blisters arose considerable gaps. Fortunately I was able to eliminate these gaps with Kristal Kleer. Then I carefully used a paiintbrush to paint it over.
The antennas
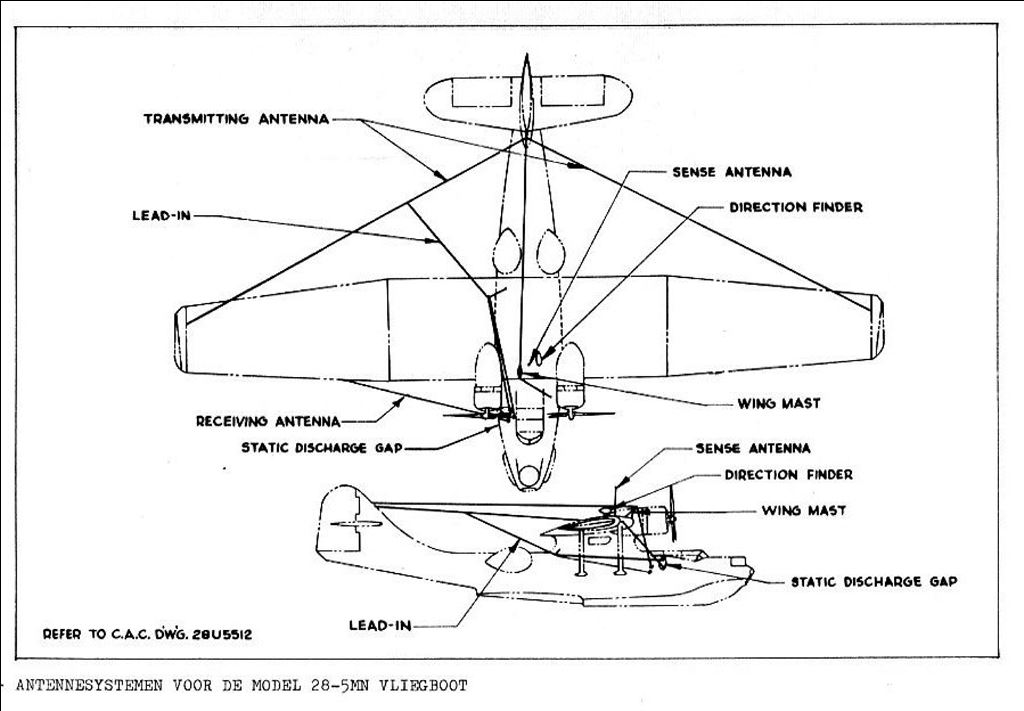
The antennas were initially a problem. The instructions were not very clear and week at that point from reality, but thanks to Luuk Boerman which provided me with a drawing with the original wires plan, it may eventually succeeded.
Diorama
Years ago I bought a a couple pieces of plastic water (scale 1/350) at some kind of modelling show.
To me these bright blue translucent plastic pieces seemed to be suitable for a small diorama. So I placed the model on a piece of stiff paper to determine the shape of the opening for the fuselage. This "mould" I transferred on the "water" and cut it carefully out.
In order to make the "water" more realistic, I added a layer of green on the bottom. I also made a wooden frame on which I attached the plastic sheet.
Many thanks to mr. Luuk Boerman of Dutch Decal for providing me the information about the antennas of the Dutch PBY-5 Catalinas.
 Nederlands (nl-NL)
  English (United Kingdom)